You’re not alone if you’ve encountered “d3dx9_43.dll not found” or “d3dx9_43.dll missing” on your Windows PC. Many users face this when running certain applications or games requiring DirectX 9. This program facilitates resources for games like League of Legends, GTA, Guild Wars, Noire, etc.
Some users accidentally deleted the .dll file and received the not found error message. You might see this error notification even if your system got a bug. The good news is that it can be fixed, and here, we will guide you through the steps to fix the d3dx9_43.dll not found/missing error on Windows 10/11. Dive in!
What Is ‘d3dx9_43.dll’ and Why Is It Important?
D3dx9_43.dll is a dynamic link library file, and it is a part of the Microsoft DirectX software collection. The file contains various DirectX libraries and is crucial for the proper functioning of games and other multimedia applications on your Windows computer.
The absence of D3dx9_43.dll can cause errors such as “d3dx9_43.dll is missing” or “d3dx9_43.dll not found”.
Why Does the d3dx9_43.dll Missing/Not Found Error Occur?
If your computer is showing an error every time you are trying to run a particular application following can be the reasons.
1. Outdated or corrupted DirectX installation.
2. Malware or virus infection.
3. You have deleted the DLL file accidentally.
4. Incomplete or faulty installation of the program that needs the DLL file for running.
5. Hardware failure or compatibility issues with the graphics card.
From reinstalling DirectX to updating your graphics card drivers, depending on the nature of the problem, you can try various methods to resolve the error. Try all the resolutions we have mentioned below, and the d3dx9_43.dll missing error will be resolved.
Restart Your Computer
The d3dx9_43.dll not found error may be caused by a temporary glitch or a program running in the background. In such cases, simply restarting your computer can resolve the problem. Here’s how to restart your computer.
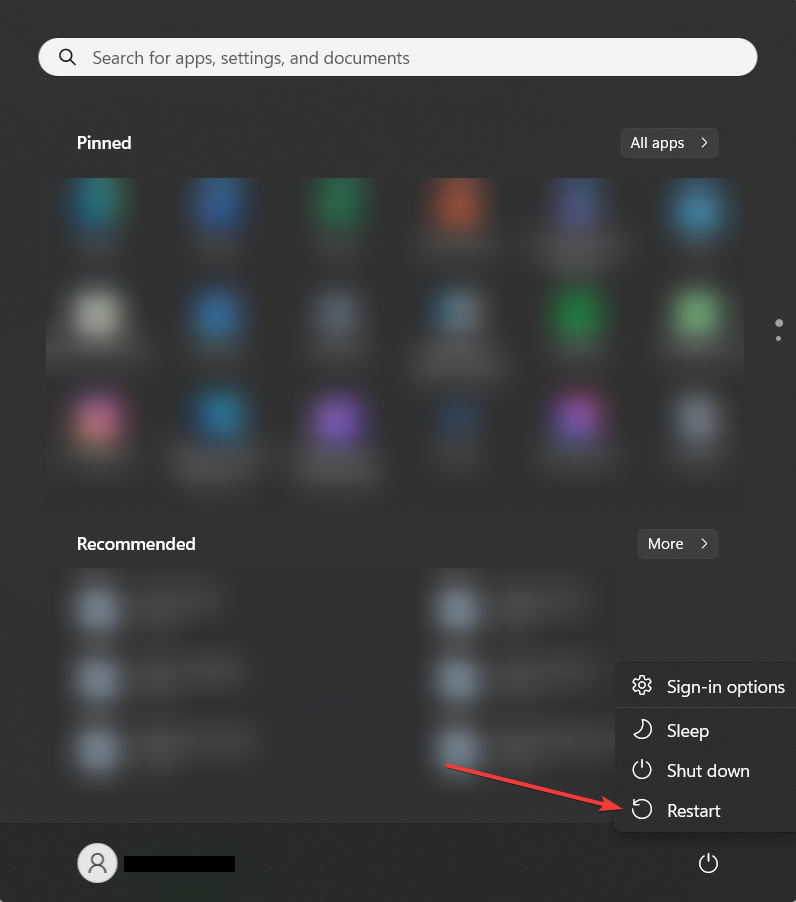
1. First, click on the Windows Start menu and select the Power icon.
2. Select Restart from the options.
Reinstall DirectX
If you are running an outdated version of DirectX, reinstalling the API will resolve the issue permanently. Follow the steps below and reinstall DirectX on your PC.
1. First, go to the official Microsoft DirectX Installer download page.
2. Then, click the Download button to start the downloading process.

3. As the download completes, run the setup file.
4. Now, follow the simple on-screen instructions to complete the installation.
5. Finally, restart your PC for the changes to take effect.
However, if you want to verify if DirectX has been properly installed or not, try the following steps.
1. Press the Windows key + R to open the Run dialogue box on your computer.
2. Now, in the search box, type in the following command and hit the Enter button – dxdiag
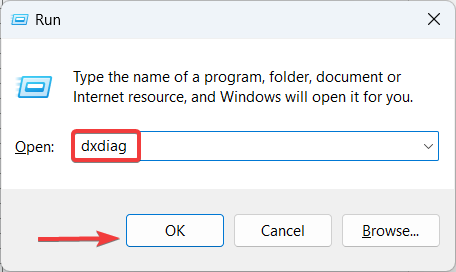
3. As the DirectX Diagnostic Tool window opens, select the System tab and check the version of the current DirectX API installed on your computer.
Uninstall the Problematic Application
If the d3dx9_43.dll missing error pops out every time you try to run a certain application, then the problem might be associated with that particular app. Uninstall it from your computer and check whether the issue is resolved.
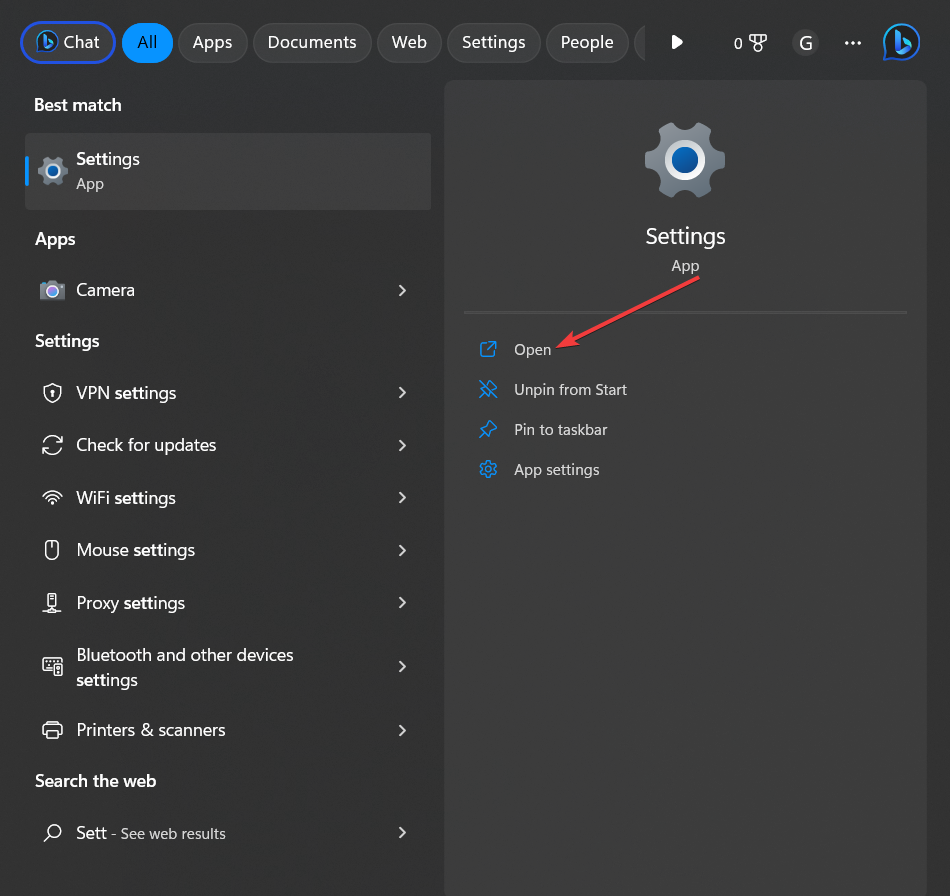
1. First, click on the Windows icon from the left of the taskbar.
2. Then, from the Start menu, select Settings.
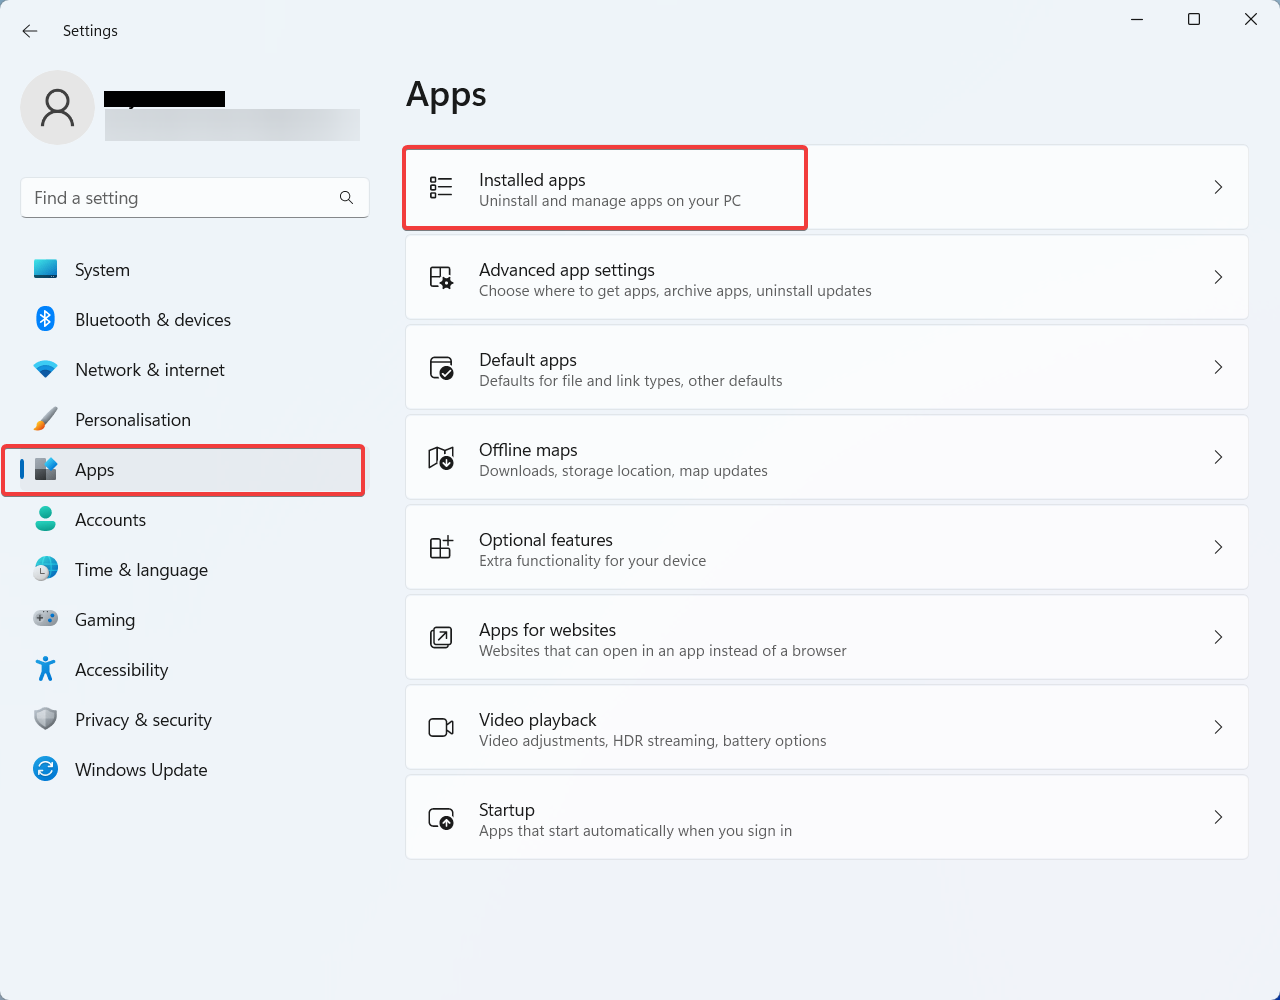
3. As the Settings window opens, click on the Apps tab from the left pane.
4. Now select the Installed Apps tab from the list of options.
5. Then, locate the application you want to uninstall from the list of installed applications.
6. Click on the More options button(…) associated with the application and select the “Uninstall” button.
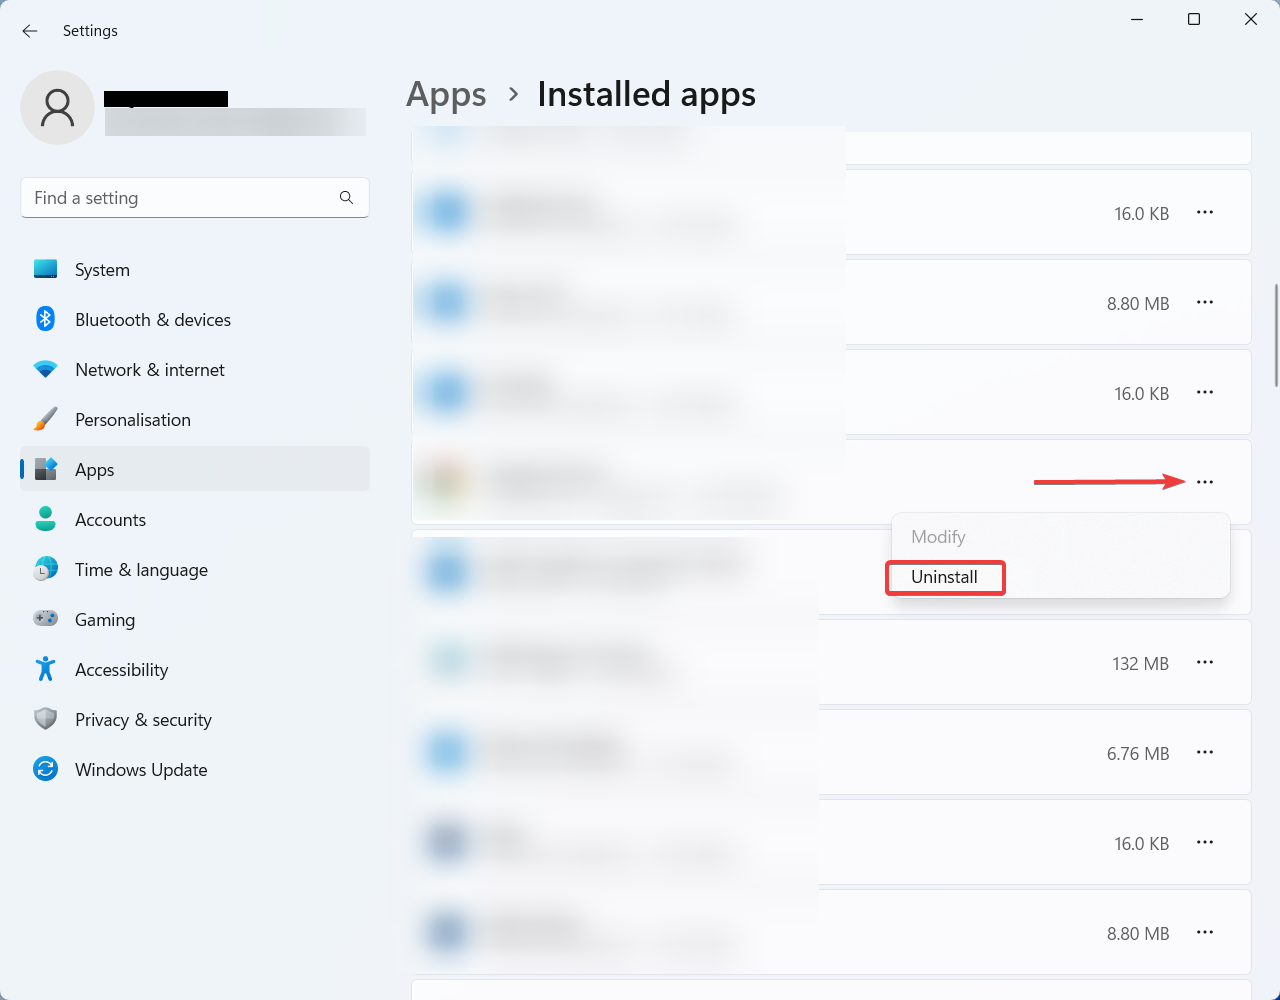
7. Now, finish the uninstallation process following the on-screen instructions.
8. Finally, if you receive any prompt asking you to restart the computer, follow it, and uninstallation will be done.
Run Windows Security Scan
As mentioned, you may get the d3dx9_43.dll missing error because of virus or malware-infected system files. Run a Windows Security scan to check and remove any malware on your PC. Follow the steps below.
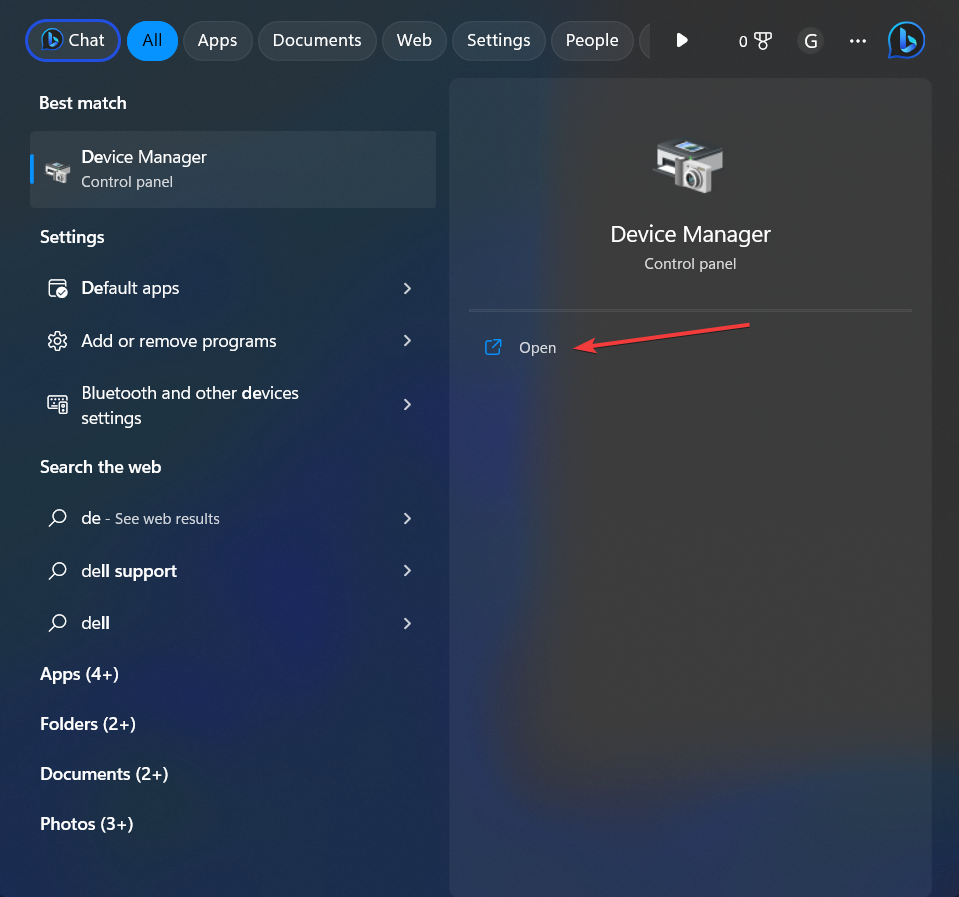
1. Press the Windows Key and type Windows Security.
2. Now open Windows Security from the search result.
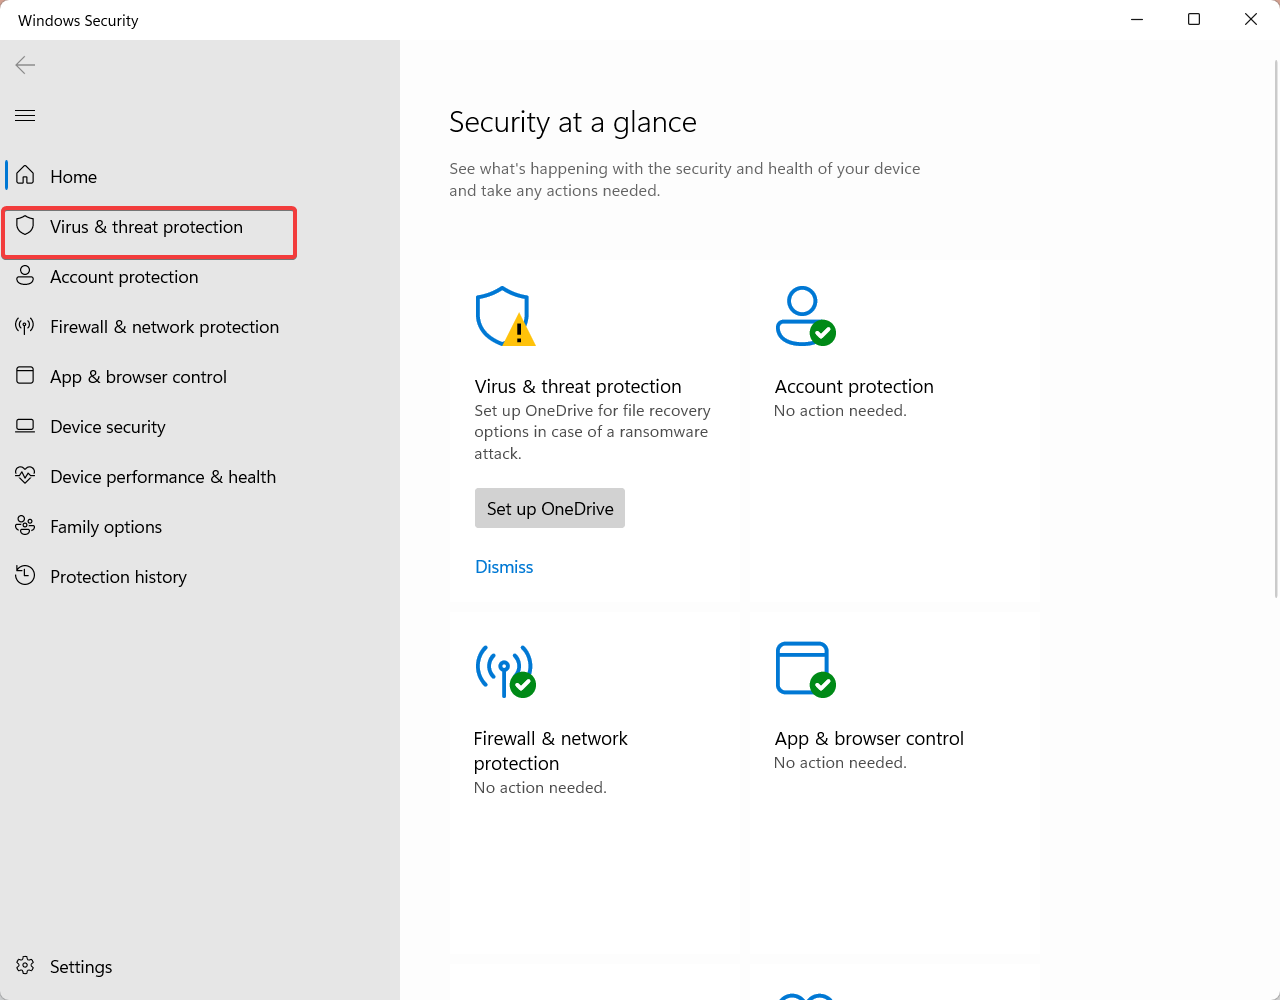
3. Select Virus & threat protection from the left pane as the new window opens.
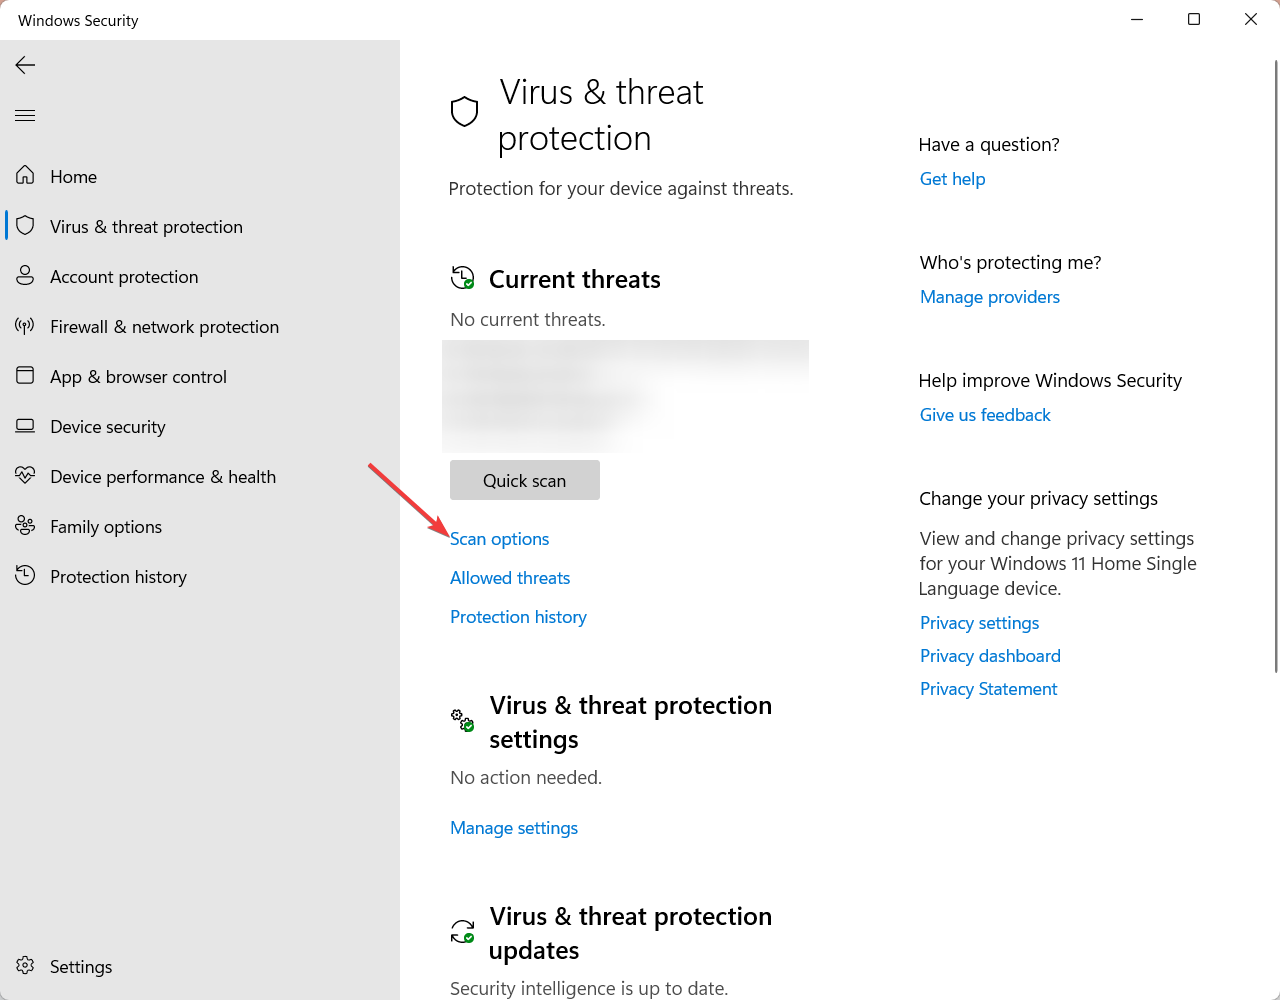
4. Then, under Virus & Threat protection, click on Scan options.
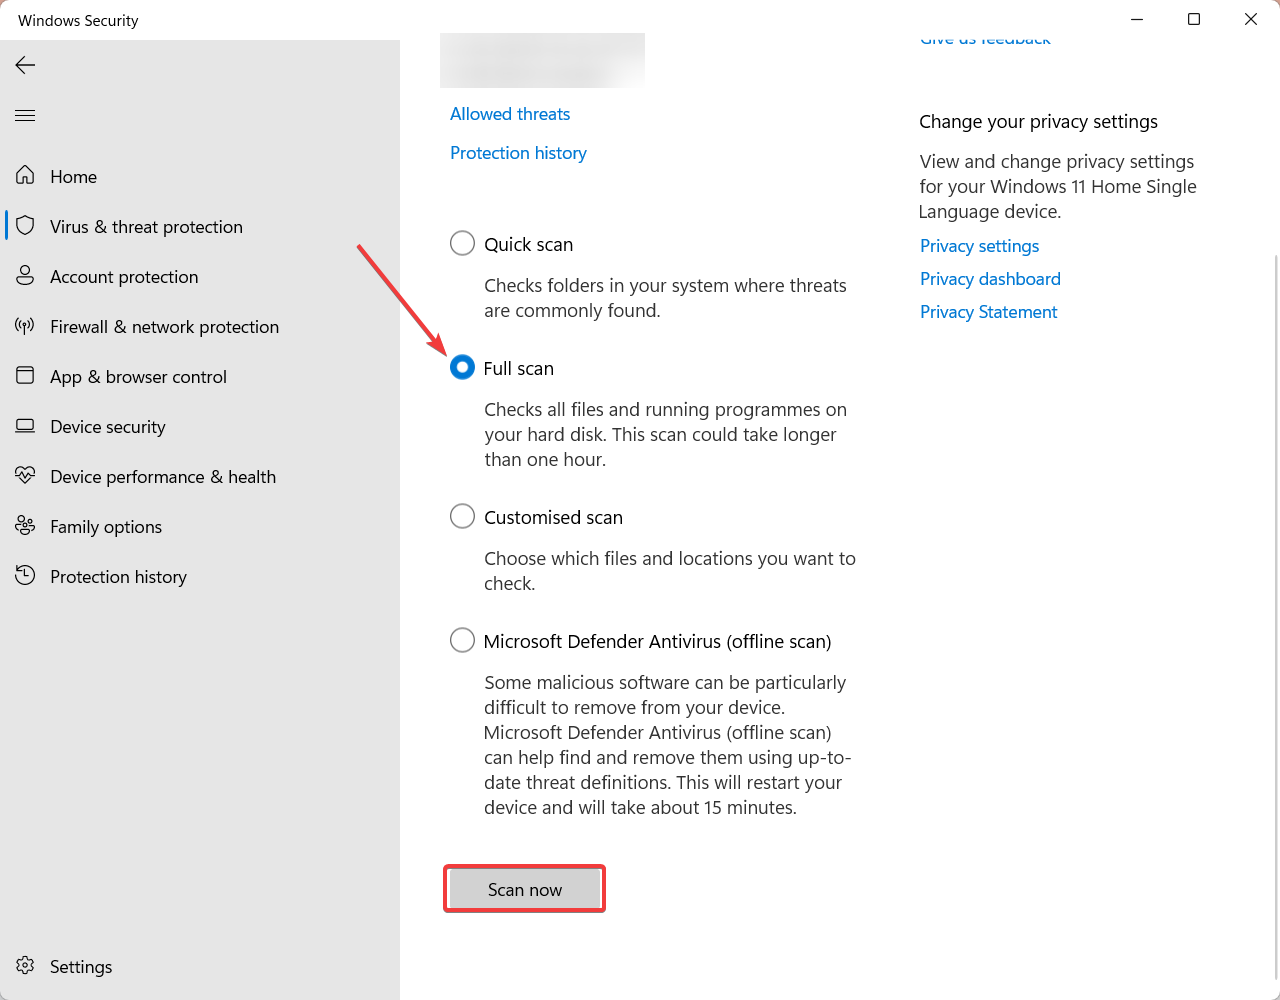
5. Now, from the list of options, select Full Scan.
6. Finally, scroll down and click on the Scan Now button.
7. Wait until Windows Security completes the scan, and upon completion, follow the on-screen instructions.
Update the Display Driver
An outdated display/graphics driver often becomes the primary reason behind the d3dx9_43.dll missing error. In that case, you can manually update the graphics card driver on your system and check if the problem is fixed. Here are the steps you need to update the display driver on your Windows computer.
1. Right-click on the Windows Logo from the taskbar.
2. From the list of options, select Device Manager.
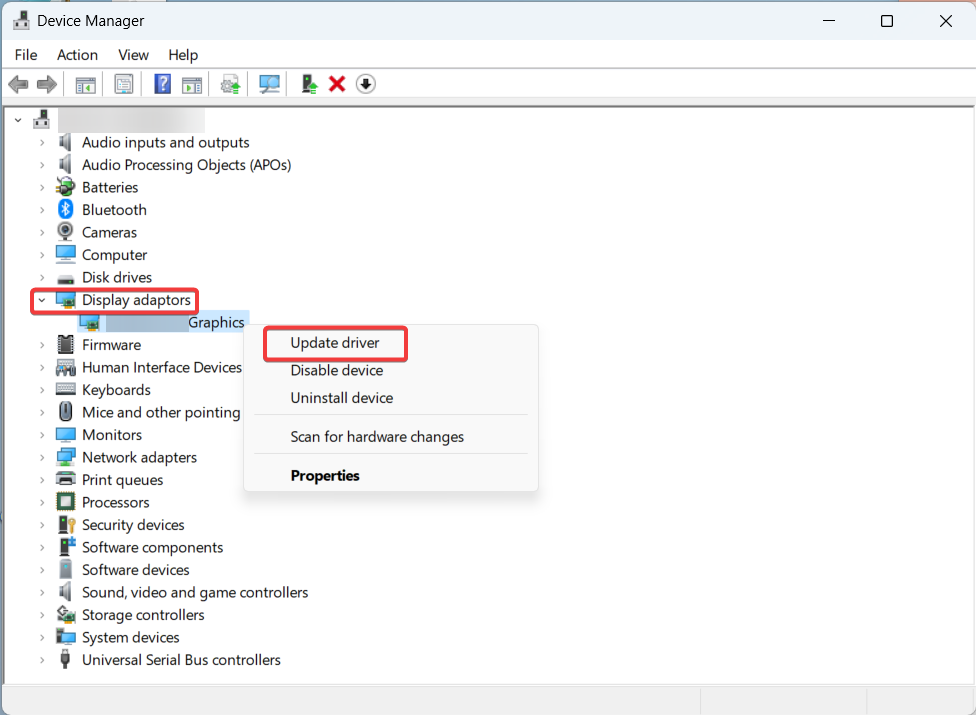
3. From the Device Manager window, expand the Display Adapters tab.
4. Now, right-click on your Display adaptors and select the Update driver option.
5. Then on the update Drivers window, select the Search automatically for drivers option.
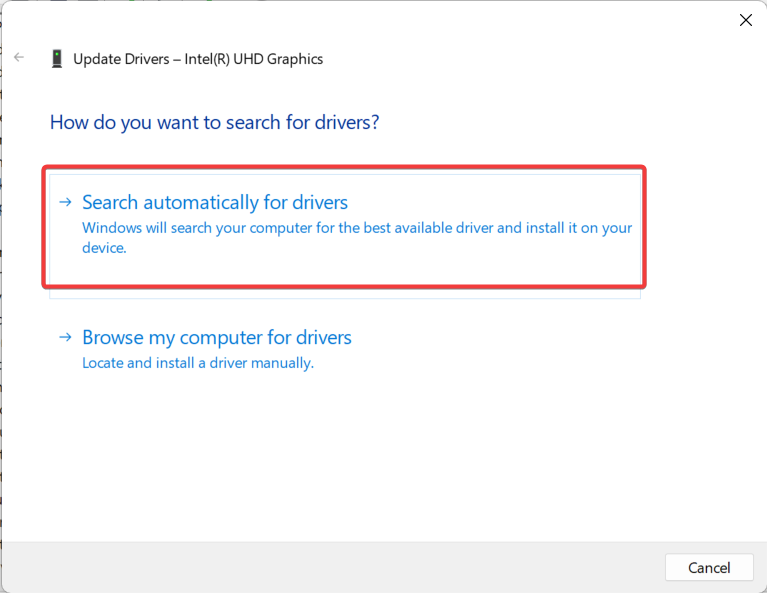
6. Now, wait until Windows completes the search to install the available updates.
Run SFC and DISM Scan
As several Windows OS users have reported, the d3dx9_43.dll missing error becomes obvious if there are any corrupted or missing system files. Running SFC and DISM scans can help you to trace and fix corrupted system files. Follow the steps below to run SFC and DISM scan on Windows PC.
1. First, press the Windows key + X on your keyboard to open the Power User menu.
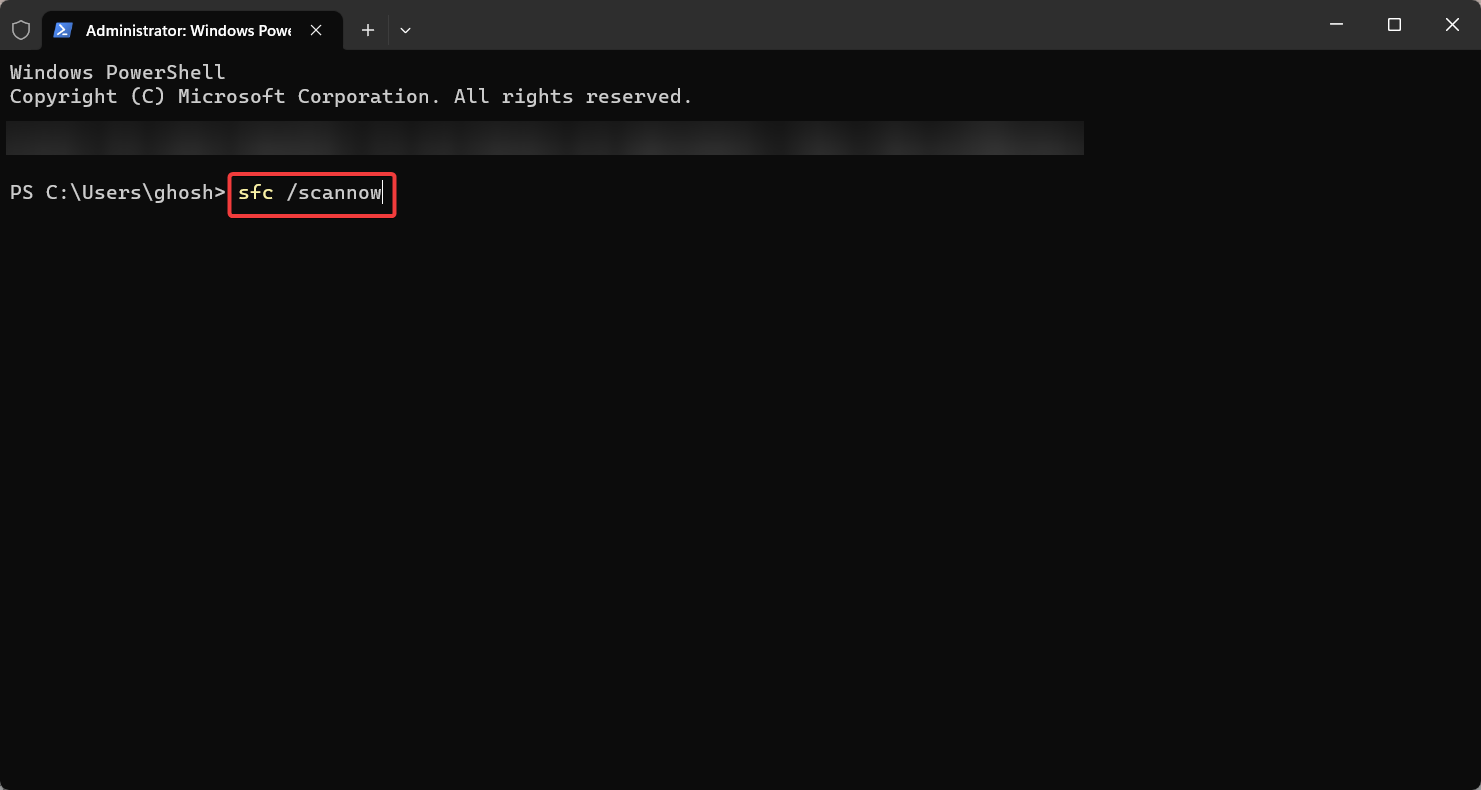
2. Now, from the list of options, select Terminal (Admin).
3. Then type in the following command on the command prompt window and press Enter.
sfc /scannow

4. The scan may take some time to complete, so be patient.
Once the SFC scan is finished, check if the d3dx9_43.dll is resolved or not. However, if the problem is still there, follow the further steps below.
1. Run the Command Prompt with administrative rights as before.
2. Now, type in the following command and press Enter. This will scan your system for any possible corruption and fix it if possible.
dism /Online /Cleanup-Image /ScanHealth
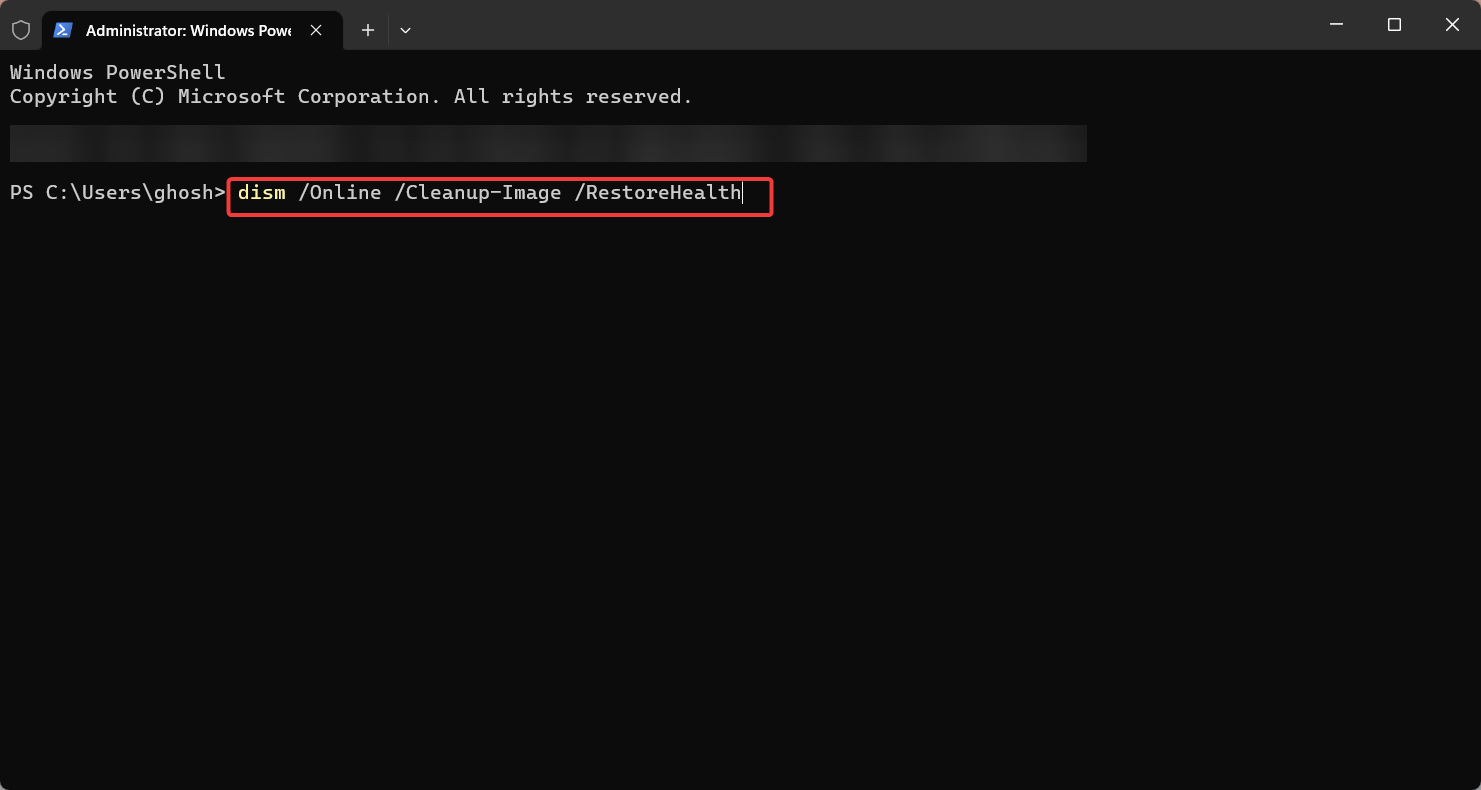
3. Once DISM completes the scan for corrupt files, use the following command to repair if there are any corrupted files.
dism /Online /Cleanup-Image /RestoreHealth
4. Wait for the DISM scan to complete. It can take up to 30 minutes, depending on the size of your system.
5. Once the repair process has been completed, restart your computer and check if the issue has been resolved.
Install the Latest Windows Update
Here’s a step-by-step process for running Windows Update on a Windows PC.
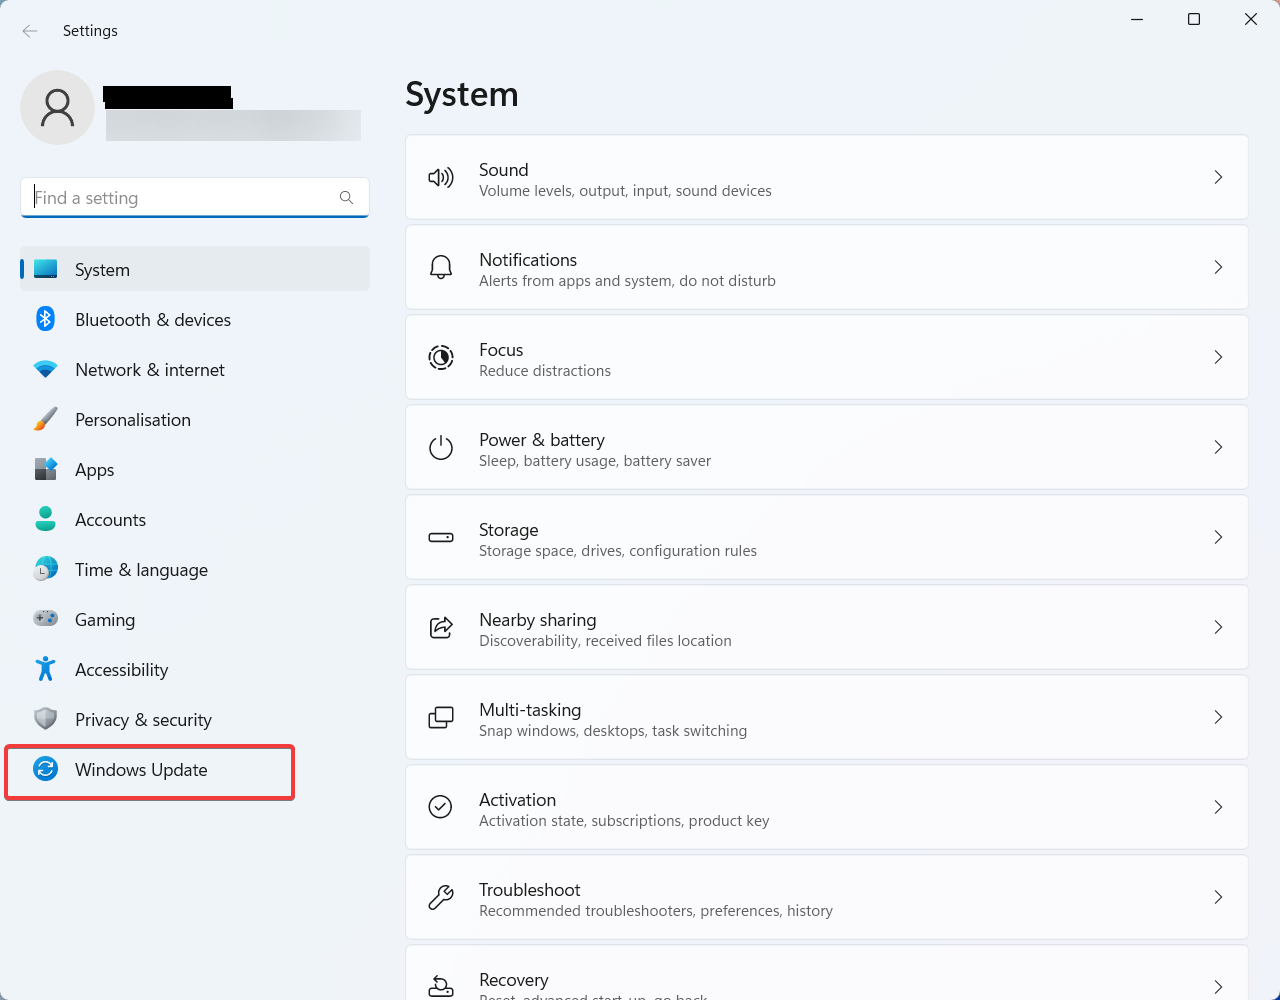
1. Press the Windows Key + I to open Windows Settings on your computer.
2. Now, from the left pane window, click on Windows Update.
3. Then, click the “Check for updates” button in the Windows Update window.
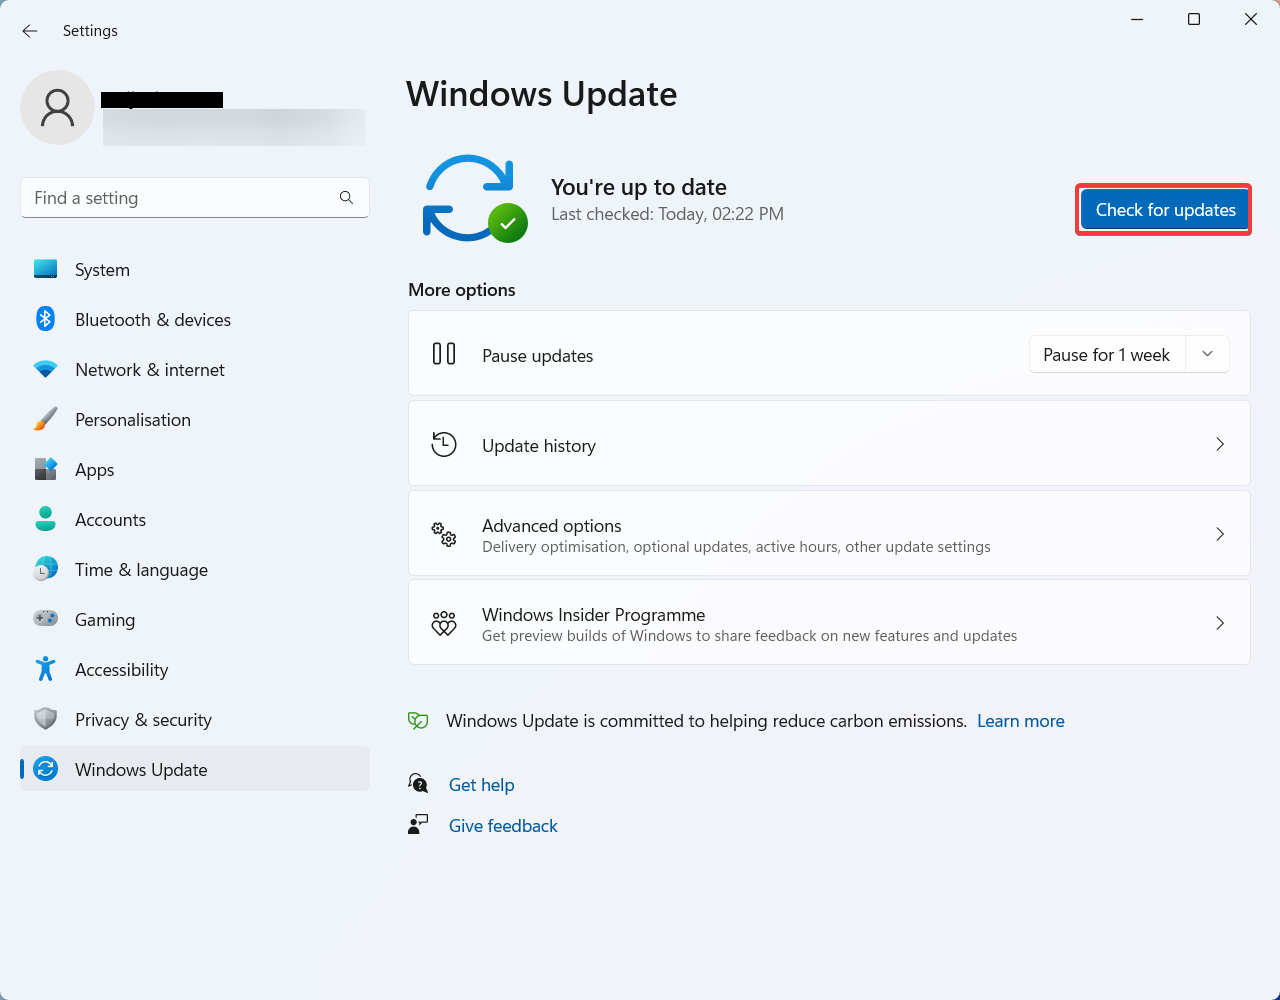
4. Now, wait until Windows completes the scan for available updates for your system. This may take a few minutes.
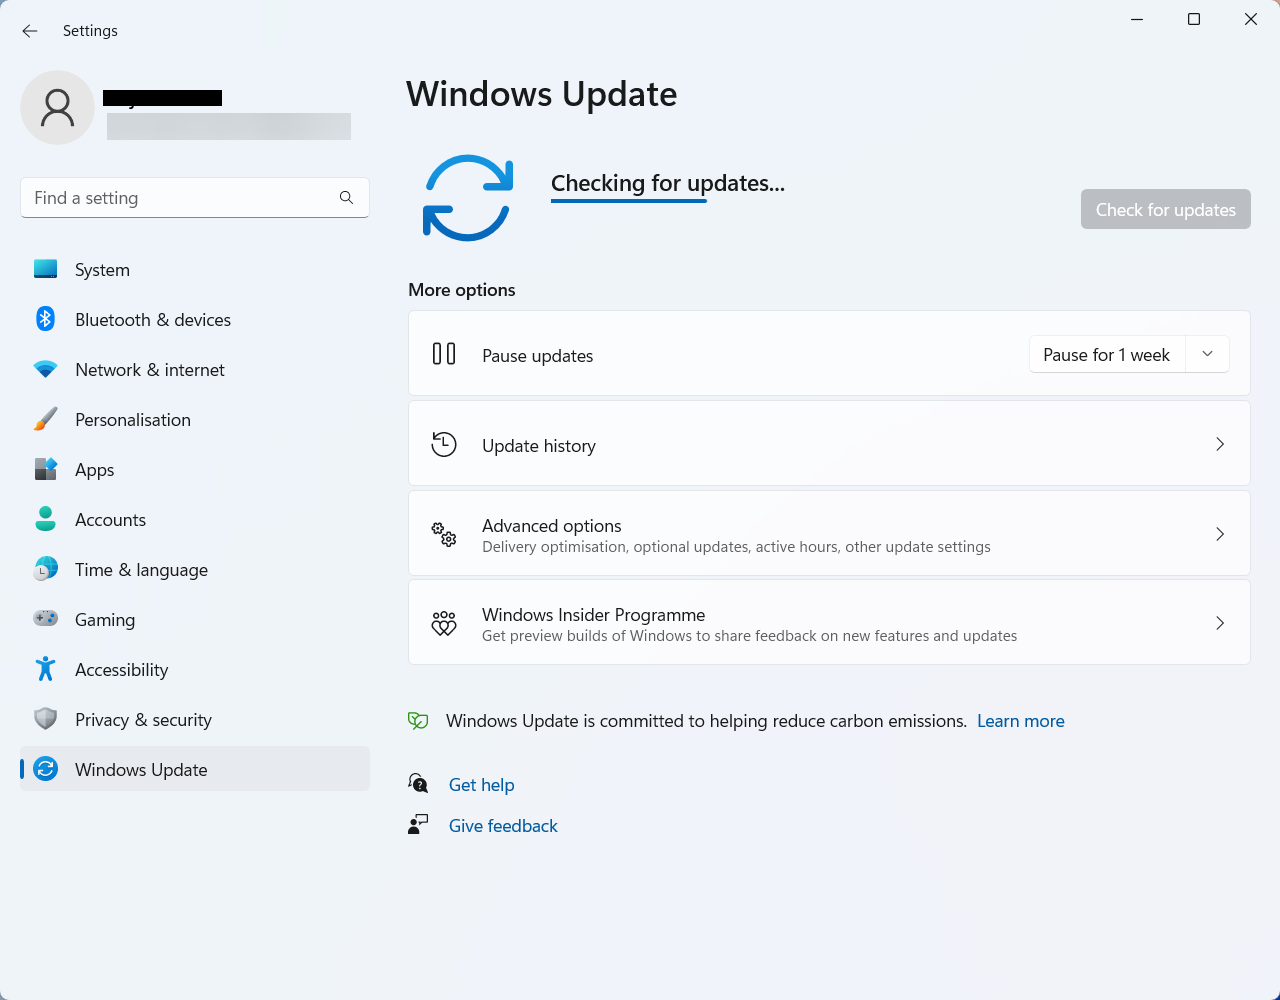
5. Once the scan is complete, it shows a list of available updates. Simply select “Install updates” to start the installation process.
6. Now, Windows will download and install the selected updates. Depending on the size of the updates and your network connection speed, it can take some time.
7. Once the installation is done, you may receive a prompt asking you to restart your computer and apply the changes. If so, click on “Restart now” to reboot your computer.
Conclusion
That’s all. Now that you know all the methods to resolve the d3dx9_43.dll not found error on your Windows computer, you must not face the problem anymore. However, if you have other queries about your Windows computer, mention them in the comment section below.
You may also read some best ways to fix Windows Error Code 0x80070057 and Error Code 0x800704cf.