
Have you just encountered error code 0x800F0922 on your Windows PC? Well, you’re not alone. It’s one of those pesky errors that sneak up when you least expect it.
Many users have shared how this error disrupted their update schedules. Some tried to force install updates, only to see the same error over and over again.
But fear not! We’re here to resolve this issue. Our experts have prepared this troubleshooting guide to help you download Windows updates smoothly.
All the solutions we have provided are easy-to-follow and will fix the 0x800F0922 error in Windows. So, no more wasting time on trial-and-error processes. Dive in!
What is the 0x800F0922 Error in Windows?

The 0x800F0922 error is related to Windows updates. When you face it, you’re most likely to see an error message stating, “There were some problems installing updates.”
This error typically occurs during the Windows update process and indicates that something is preventing the installation of the latest update files on your PC.
This error generally occurs when your PC has a space constraint. If your system-reserved partition has less than 500 MB of free space, the updates won’t install. The system-reserved partition is a critical part of OS update installation, and if it’s running low on space, update files won’t be saved.
Not only that, but if your network is unstable or you’re downloading the updates without administrative privileges, you may also encounter this error.
Thankfully, we’ve got some solutions up our sleeves to help you get past this error and get your Windows update back on track!
What Causes the 0x800F0922 Error in Windows?

The 0x800F0922 error message in Windows can be triggered by different factors. We have done some in-depth research to find the most potential causes behind this error. Check them out below.
1. When there isn’t enough room for new Windows OS installation files, the update process cannot proceed successfully, resulting in the error code.
2. The computer may fail to connect to the Microsoft Windows Update server due to network configurations or VPN connections in your network. This connectivity issue can prevent Windows from downloading essential updates.
3. If the installation of the .NET Framework encounters issues during the upgrade process, it triggers the 0x800F0922 error. This installation failure disrupts the overall update procedure.
4. In managed environments, Group Policy settings can be configured to restrict certain update actions. These restrictions are often set by network administrators to maintain system integrity and security. If your user account is subject to such policies, it may result in this error while downloading specific updates.
5. Third-party software, like antivirus programs or firewalls, can interfere with the update process. Temporarily disabling such software during the update process can help determine if they are causing the issue.
6. The error may also occur when installing language packs or features that require additional language files. If these files are corrupted or unavailable, the update process can’t proceed.
If you’re encountering the 0x800F0922 error in Windows 11, 10, or an older version, you can try the below solutions to fix it. Learn the step-by-step processes for each.
Check Partition Size
One of the primary reasons for this error is the insufficient free space in the system reserved partition. To resolve it, check the size of your system’s reserved partition and ensure it has enough space to accommodate the Windows update. Here’s how you can check the partition size.
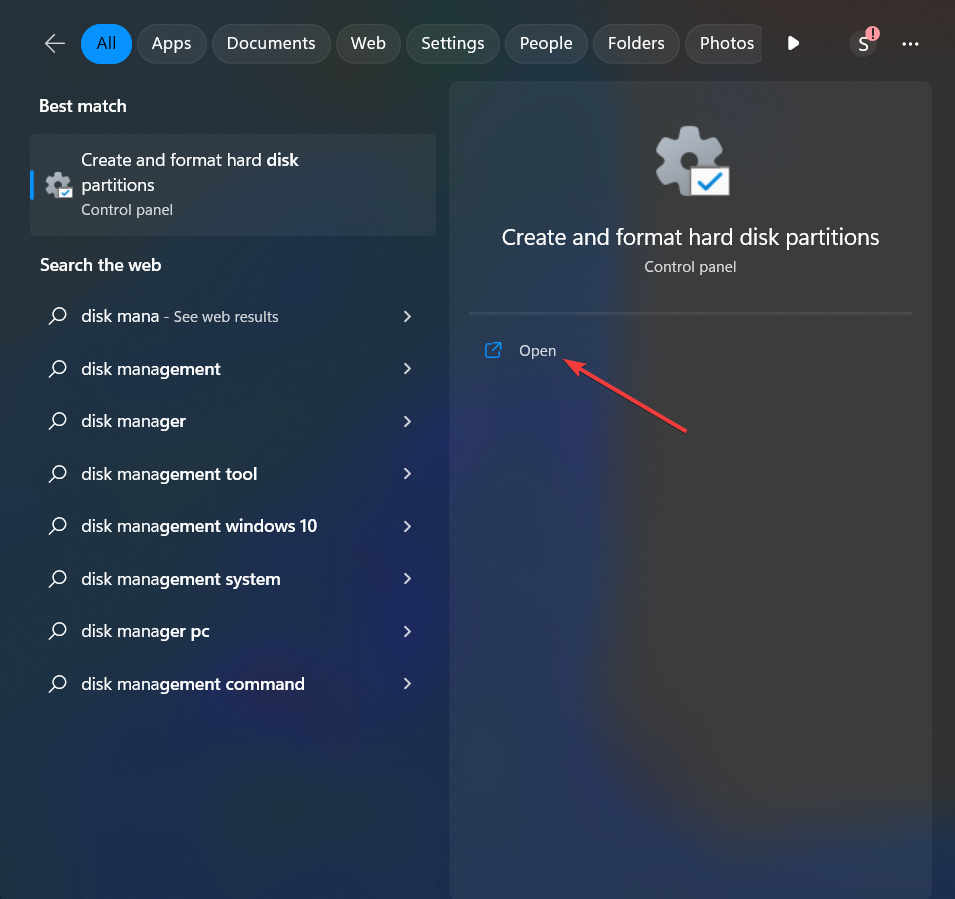
1. Press the Windows key + S button and type Disk Management in the search box.
2. Click Create and format hard disk partitions from the appearing options.
3. Now, the Disk Management window will open.
4. In the Free Space tab, check the amount of free space in every existing volume.
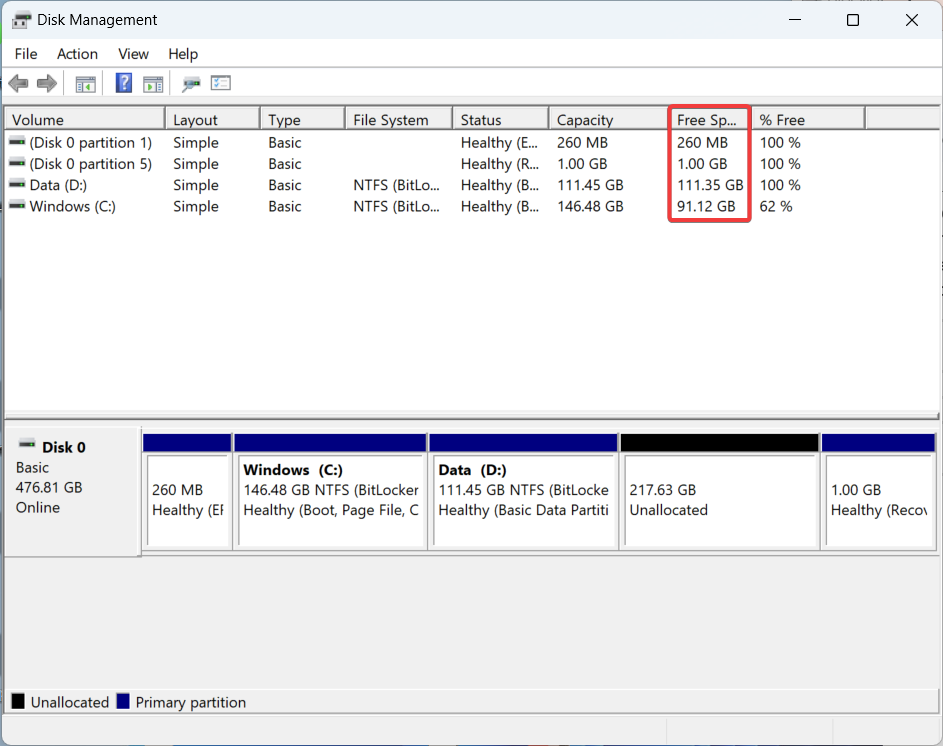
5. If the system-reserved partition is indeed less than 500 MB, here’s what you can do:
Perform Disk Clean-up
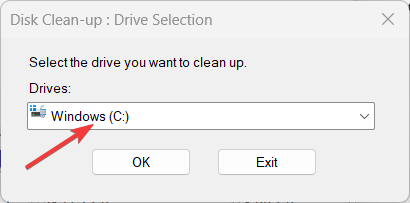
a. Open Disk Clean-up from Windows search and select the Driver.
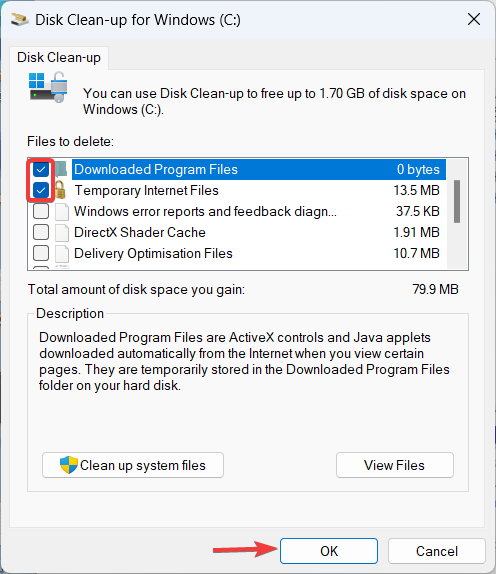
b. Click OK to start the clean-up process.
c. At the end of it, select your preferred files and folders and delete them.
Create Disk Space
a. In the Disk Management window, find the volume with unallocated disk space.
b. Next, right-click on it and choose New Simple Volume.
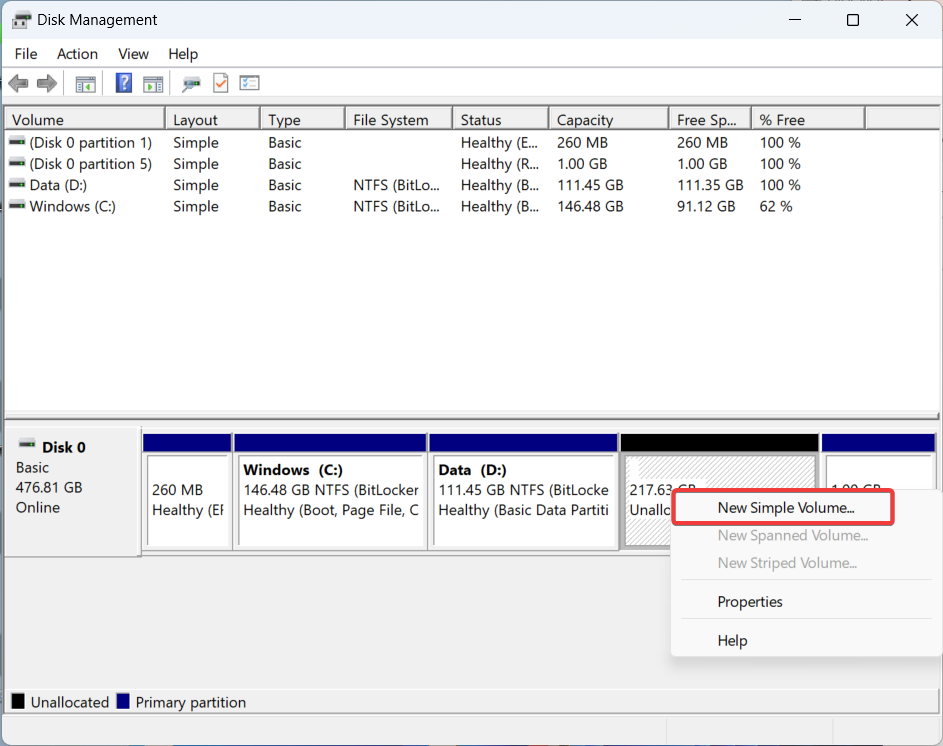
c. Now, the wizard will start. You have to follow the on-screen instructions, including allocating space.
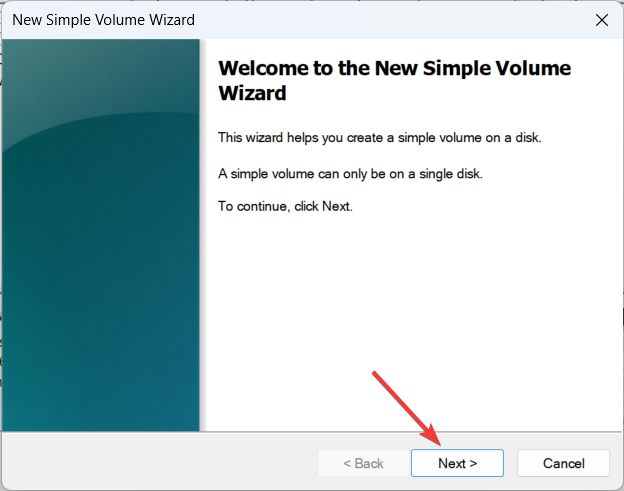
d. Finish the partition to use the unallocated disk space.
6. Once done, try to install the Windows update again.
Use an Administrator Account
Using an administrator account is crucial because certain update operations and changes to the system require elevated privileges. When you attempt to install updates or features without sufficient permissions, Windows may halt the process and trigger the 0x800F0922 error.
Switching to an administrator account or contacting your system administrator ensures that you have the required rights to carry out the update task successfully. Follow the below steps for the same.
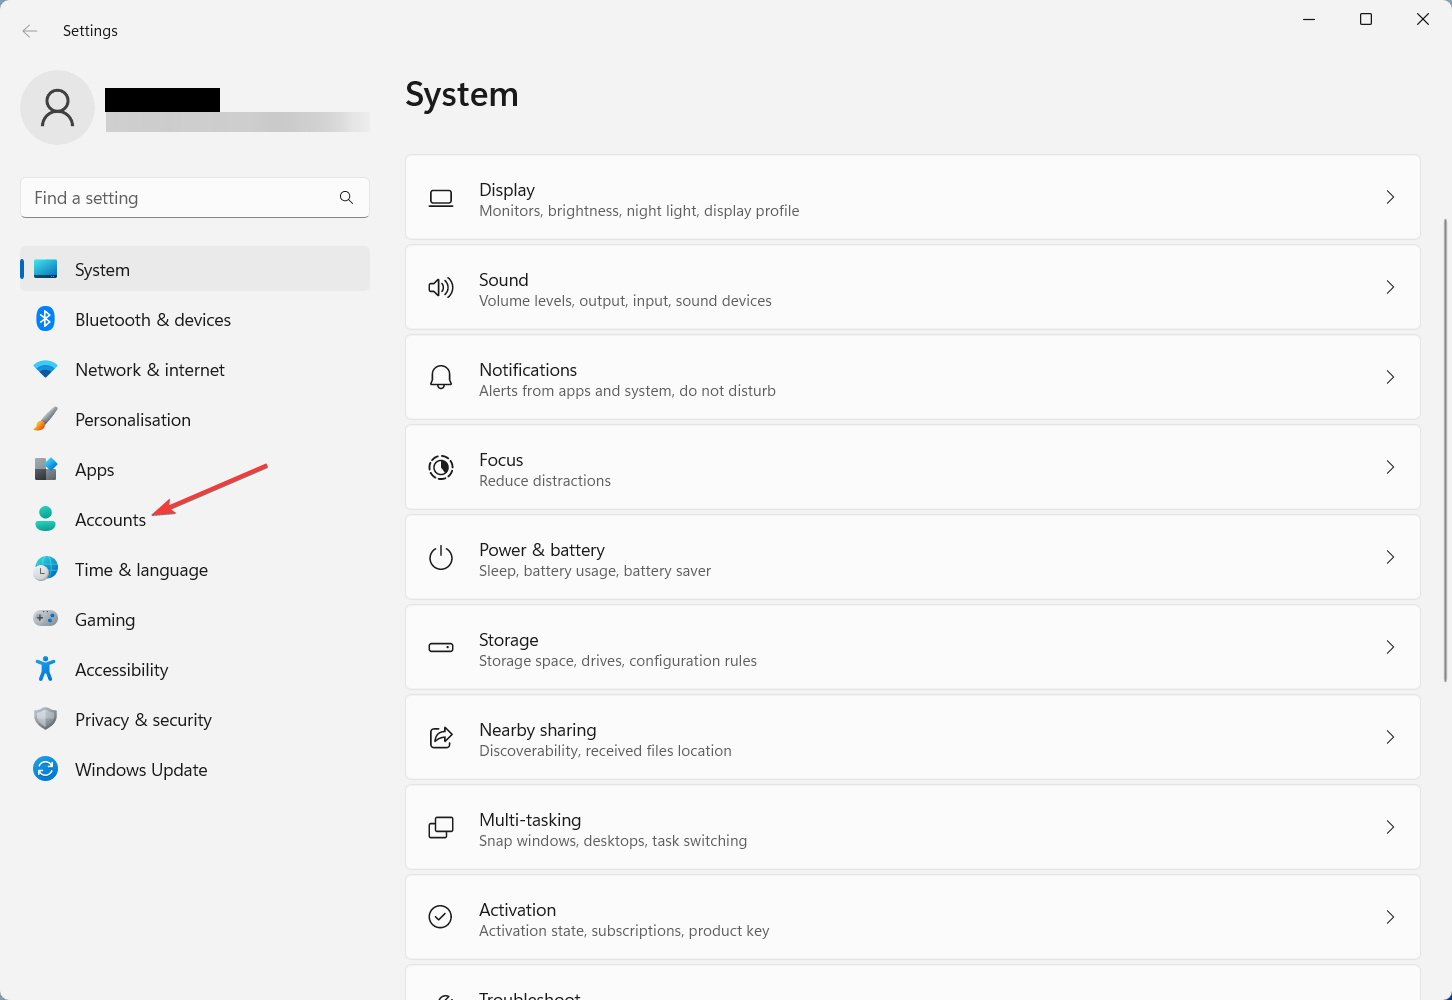
1. Press the Windows logo key + I button to open the Settings app.
2. In the Settings window, click on Accounts on the left sidebar.
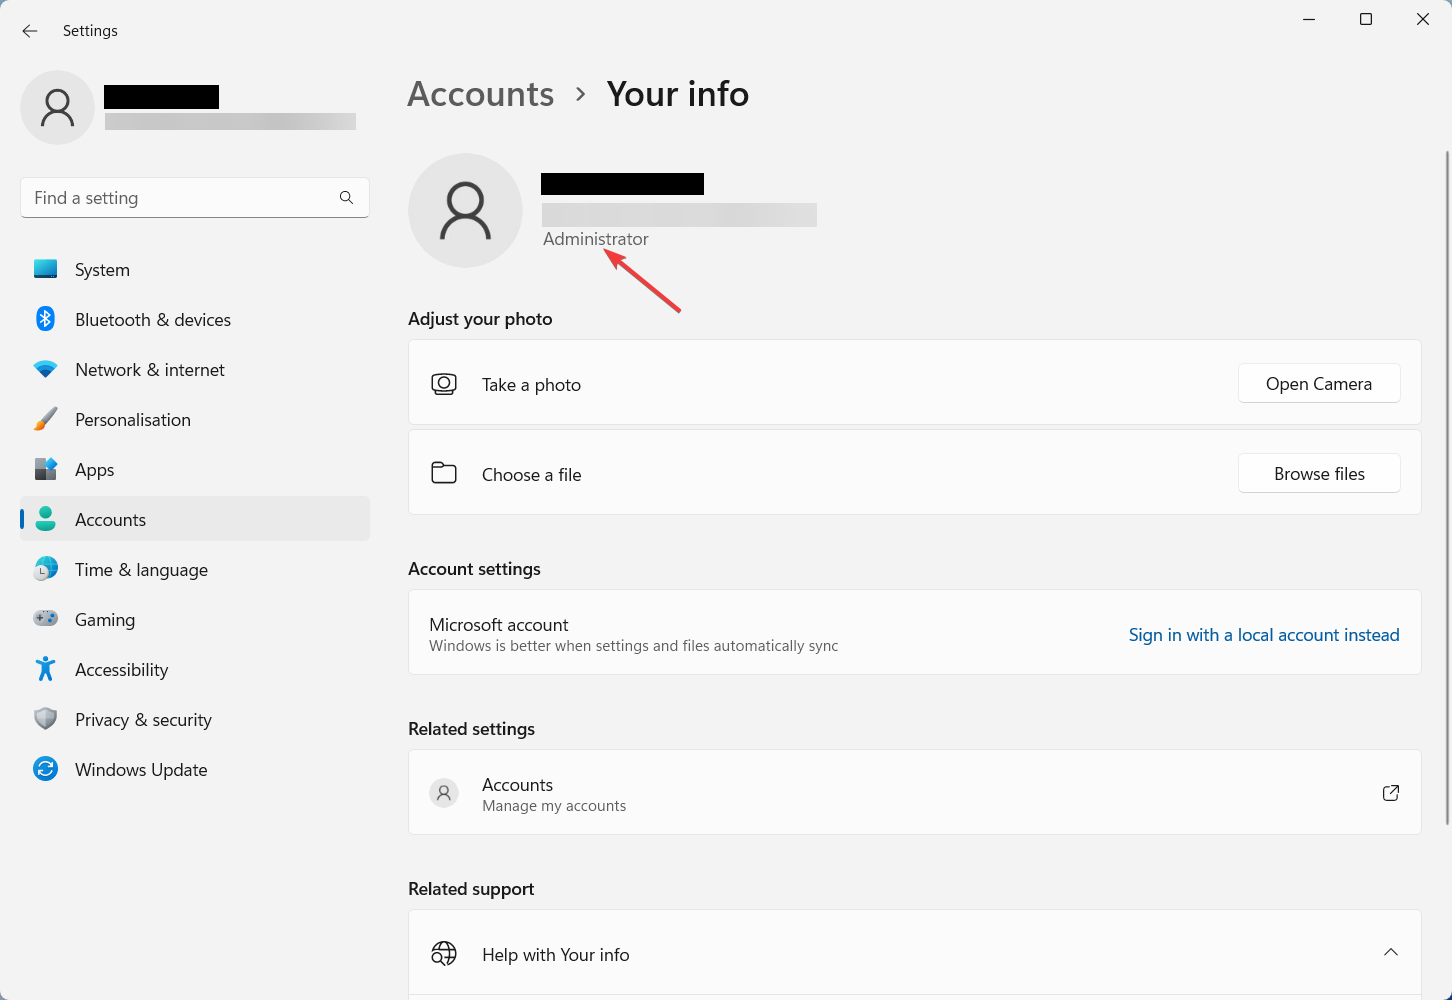
3. Now, choose Your info from the right-side tab.
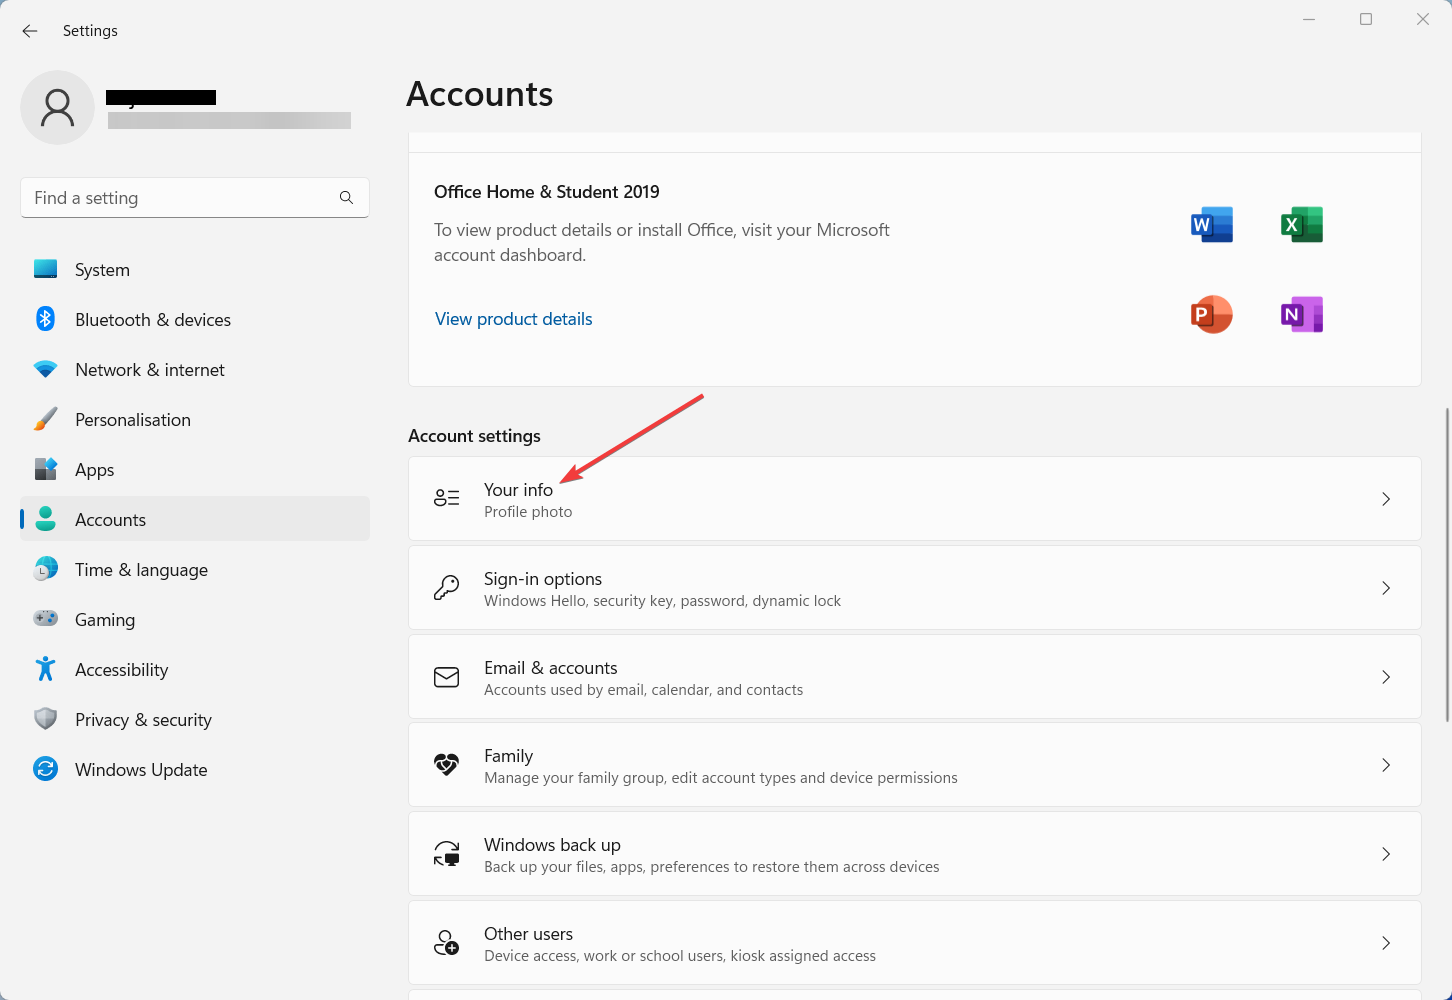
4. From here, check if your account is listed as Administrator.
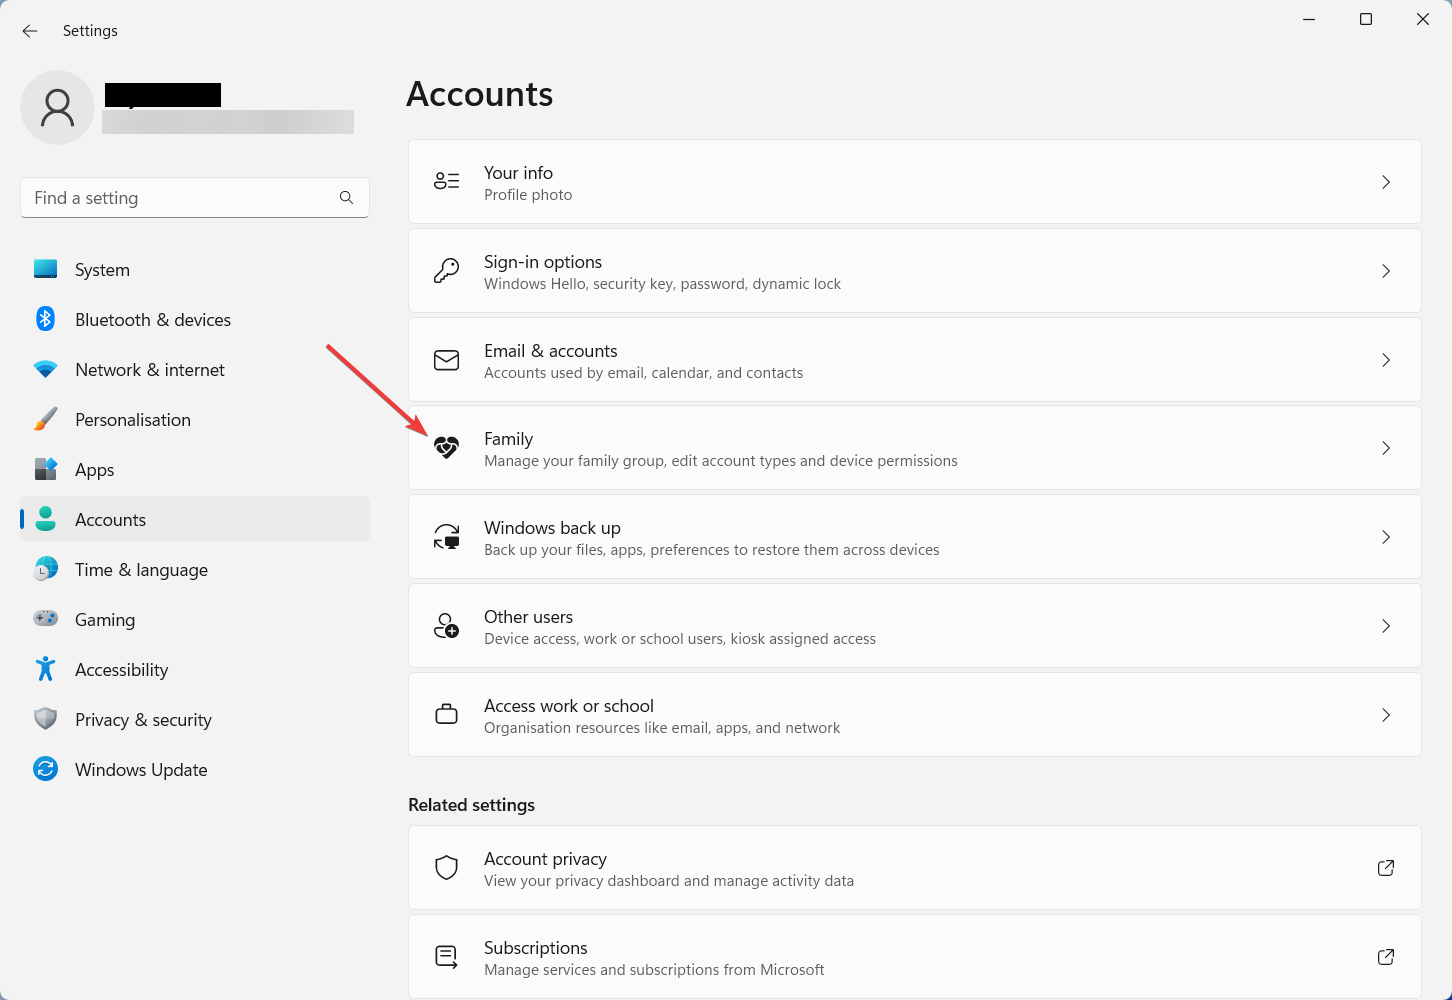
5. If not, go back to the previous page and click Family from the right pane.
6. Under the Your family option, click on the account you want to change to an administrator account.
7. Under Change account type, choose Administrator and click OK.
8. If prompted, enter your administrator password or PIN to confirm the changes.
Disable Group Policy Restrictions
Group Policy settings can control different aspects of your Windows system. If there are restrictive policies in place, they may prevent the update process. Follow the below steps to disable such policies.
Note: If you are using Windows Home edition and Group Policy Editor is not pre-installed, skip this step.
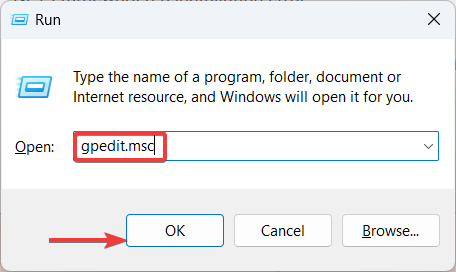
1. Press the Windows key + R to open the Run dialog box.
2. Type “gpedit.msc” and hit Enter to open the Local Group Policy Editor.
3. In the left pane, navigate to Computer Configuration > Administrative Templates > System.
4. Look for Specify settings for optional component installation and component repair in the right pane and double-click on it.
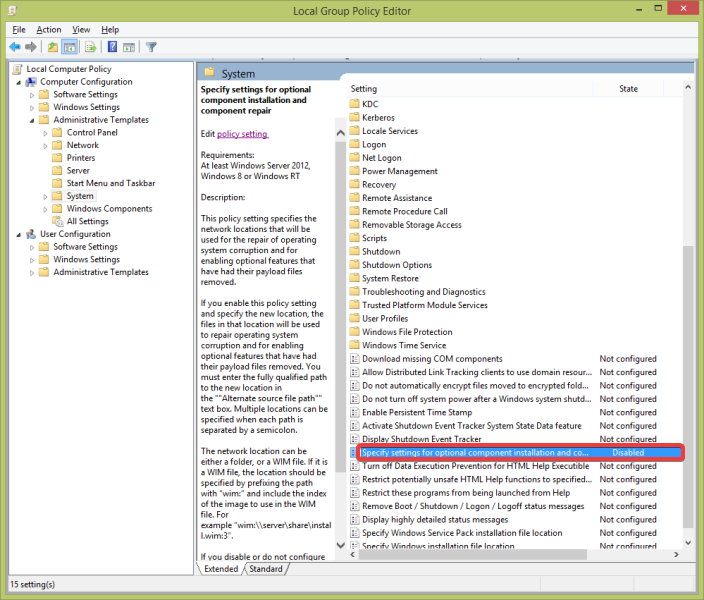
5. Select Disabled, click Apply, and then click OK to save the changes.
Reset Windows Update Components
Resetting Windows Update components helps you to resolve issues related to corrupted files and settings. With this method, Windows Update gets a fresh start, eliminating any underlying problems that may be causing the error. Here are the steps.
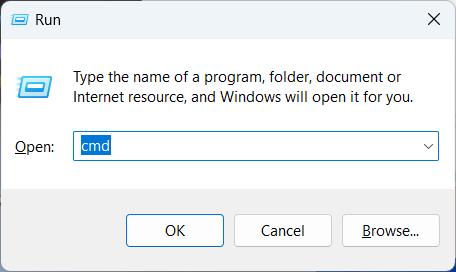
1. Press the Windows key + R to open the Run dialog box.
2. Type “cmd” and click OK.
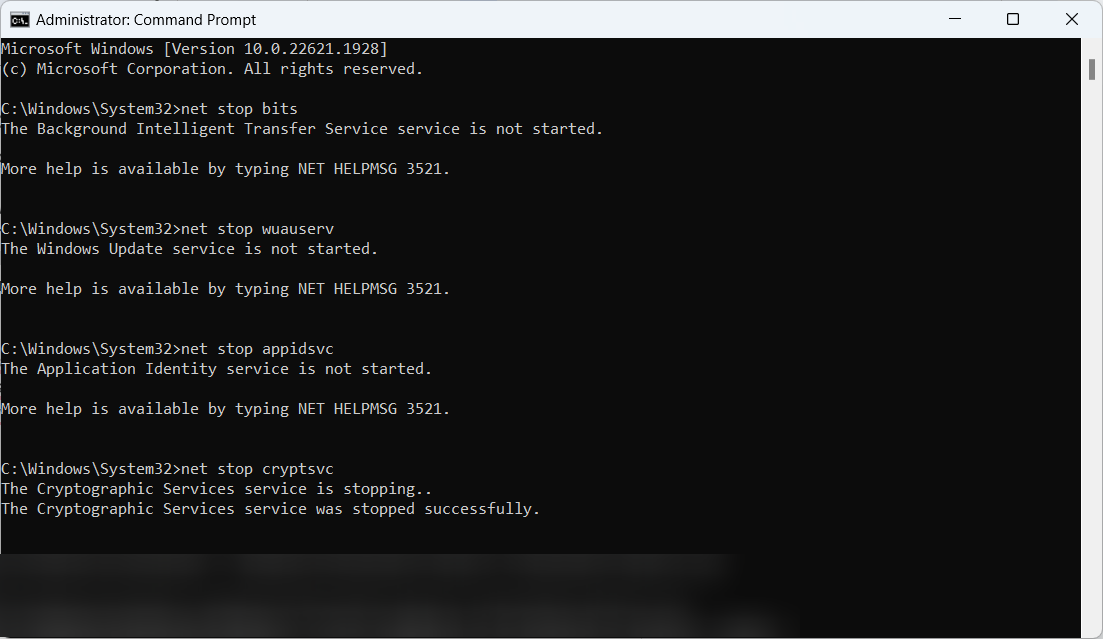
3. In the Command Prompt window, type the following commands one by one and press Enter after each-
- net stop wuauserv
- net stop cryptsvc
- net stop bits
- net stop msiserver
4. Now, type the following commands to rename the SoftwareDistribution and Catroot2 folders:
- ren C:\Windows\SoftwareDistribution SoftwareDistribution.old
- ren C:\Windows\System32\catroot2 Catroot2.old
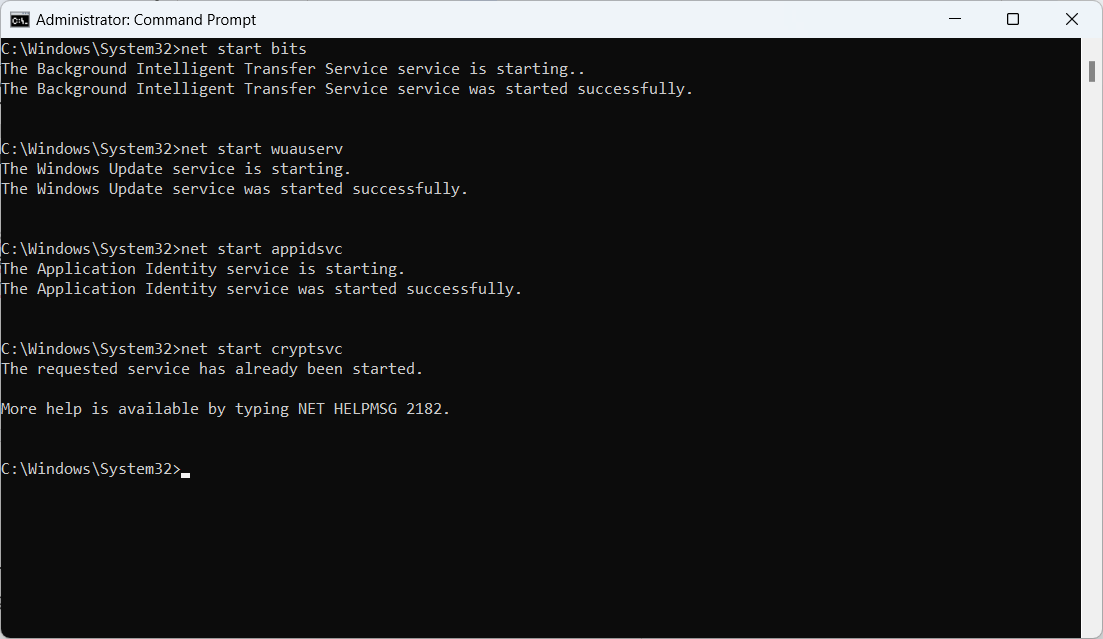
5. After renaming the folders, restart the Windows Update services with the following commands–
- net start wuauserv
- net start cryptsvc
- net start bits
- net start msiserver
6. Close the Command Prompt window.
Check Network Connectivity
A stable and reliable internet connection is essential for a successful update process. Network connectivity issues can disrupt the download or installation of updates, leading to the 0x800F0922 error. So, check your network connection and troubleshoot any disruptions to ensure that the update process can complete without any hindrance.
Disable Third-Party Software
Third-party firewalls or antivirus software can provide valuable security, but sometimes they can interfere with the update process. Disabling such applications will eliminate conflicts with the Windows update service. Here is how to disable third-party software.
1. Locate the third-party antivirus or firewall software icon in the system tray (usually bottom-right corner).
2. Right-click on the icon and look for options related to disabling or turning off the program temporarily.
3. Choose the option to disable the program temporarily.
4. If prompted, confirm your action by following the on-screen instructions.
5. Try running the Windows update again.
Check Language Pack Availability
Language packs are essential if you work with Windows in your native language or multiple languages. If language packs are pending download or installation, it can cause conflicts during the update process. Ensure all language packs are installed and up-to-date to fix the 0x800F0922 error. Here is how to do that.
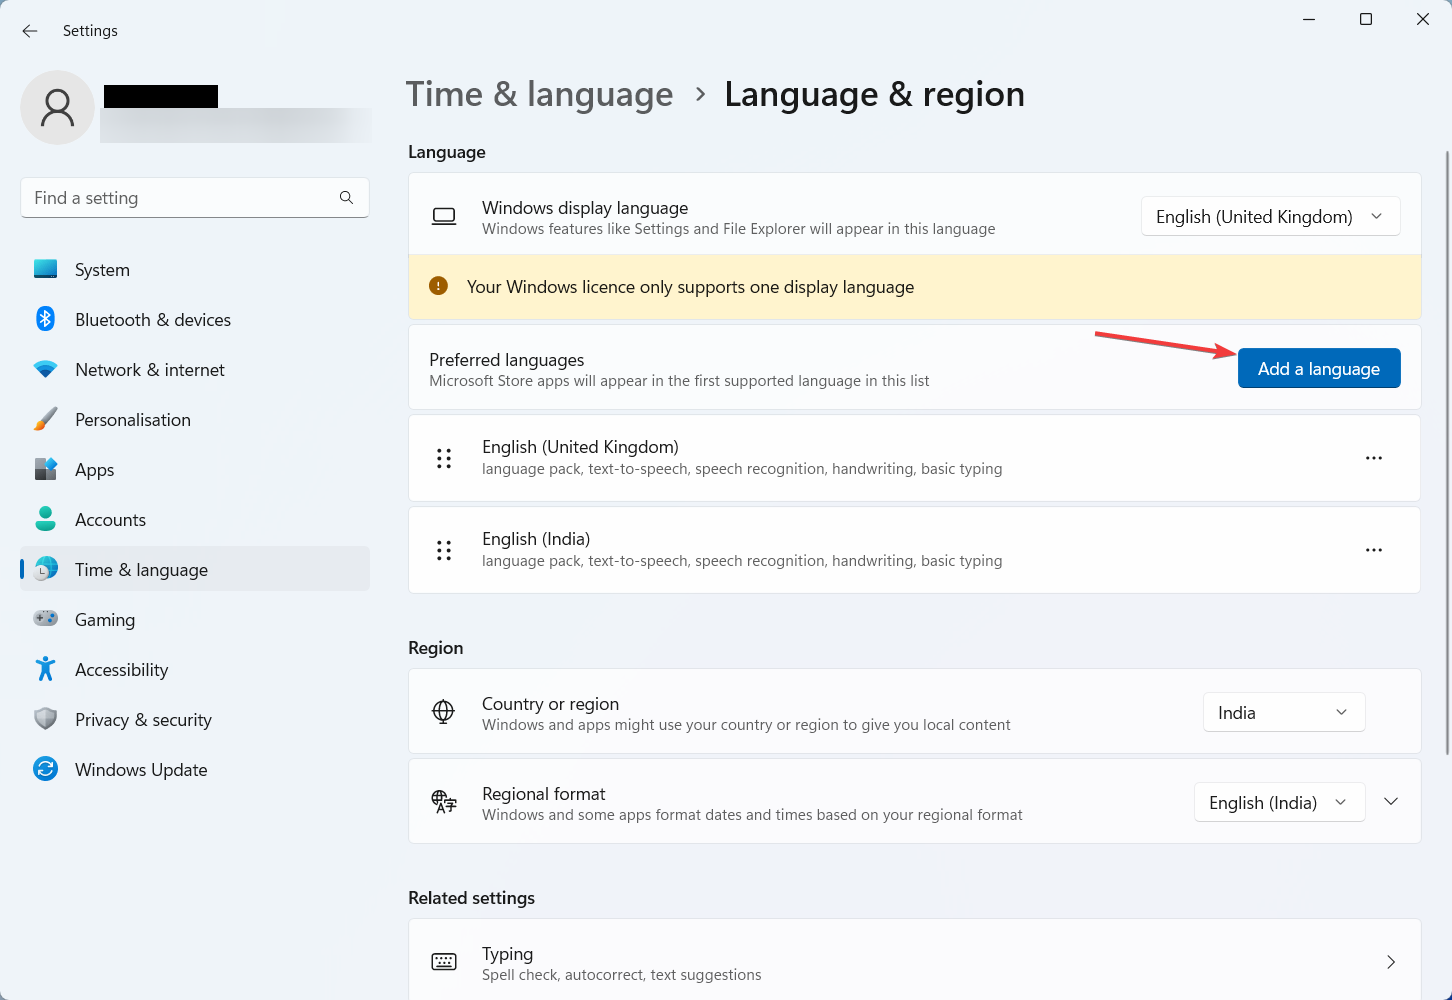
1. Press the Windows key + I to open the Settings app.
2. Click on Time & Language and select Language & region from the right tab.
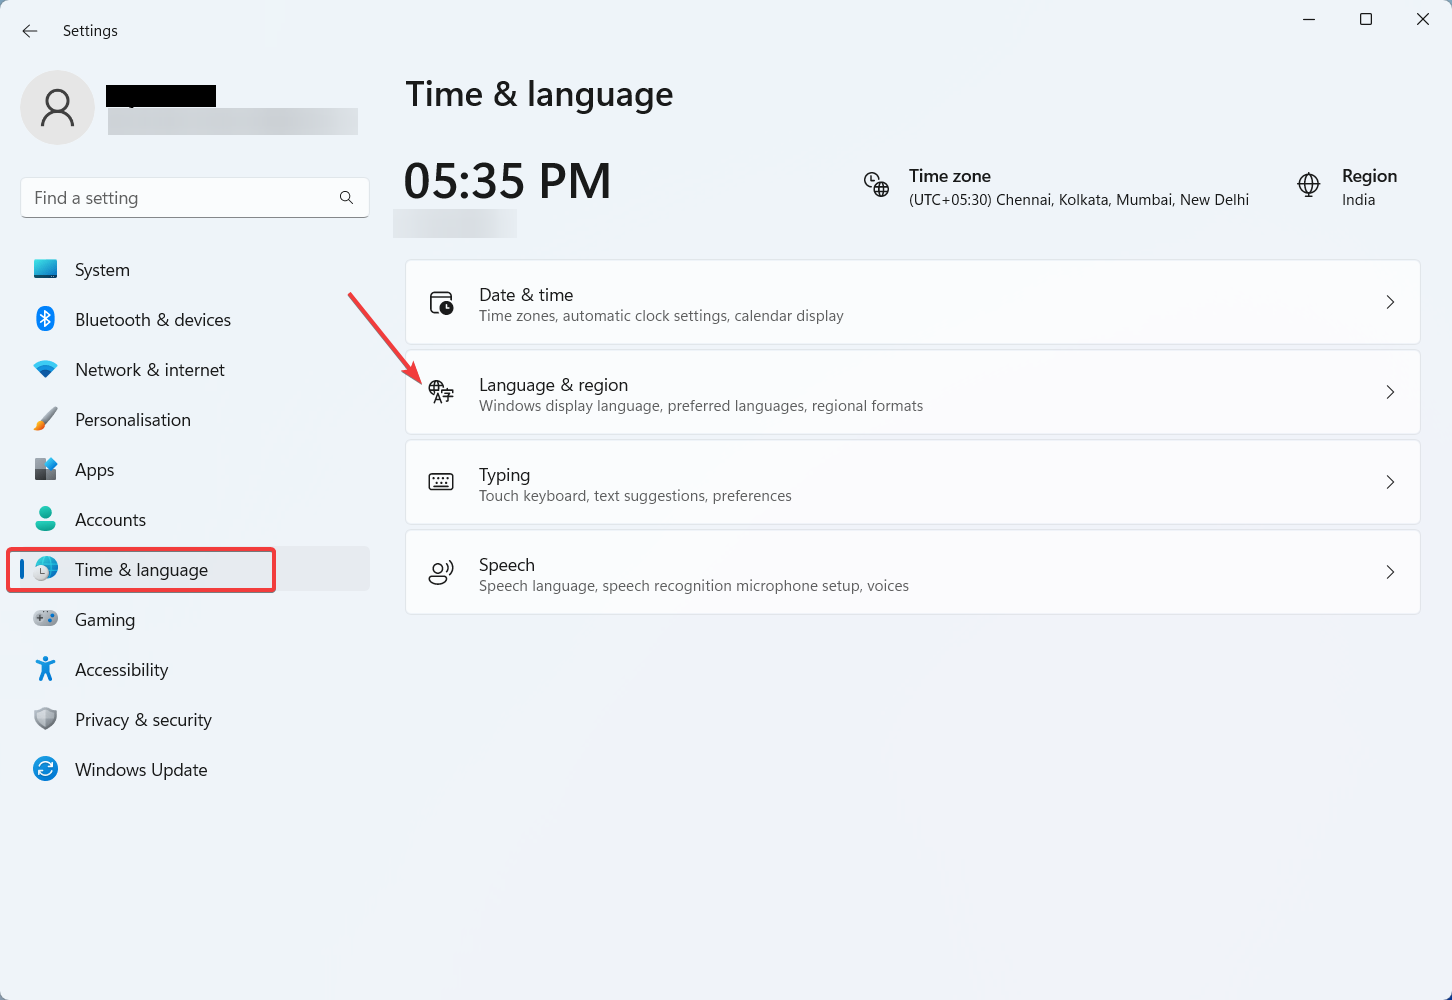
3. Under the Preferred Language section, check if all language packs are installed and up-to-date.
4. If not, click on Add a language and follow the prompts to install any missing language packs.
Use DISM Tool
The Deployment Image Service and Management tool (DISM) is a powerful command-line tool that fixes corruption and other issues in the Windows system image. Running the DISM tool can repair any damaged or missing files existing in your system. Here is how to run the DISM tool.
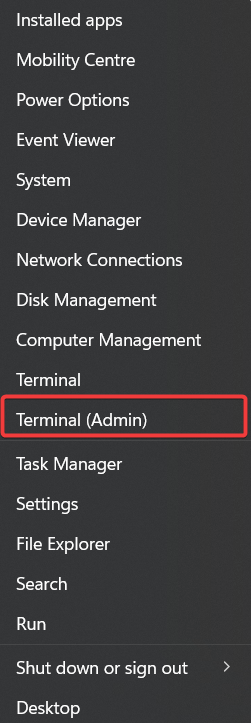
1. Press the Windows key + X and select Terminal (Admin) from the menu.
2. Alternatively, right-click on the Start button and choose Terminal (Admin).
3. In the elevated command prompt, type the following command and press Enter-
- DISM /Online /Cleanup-Image /RestoreHealth
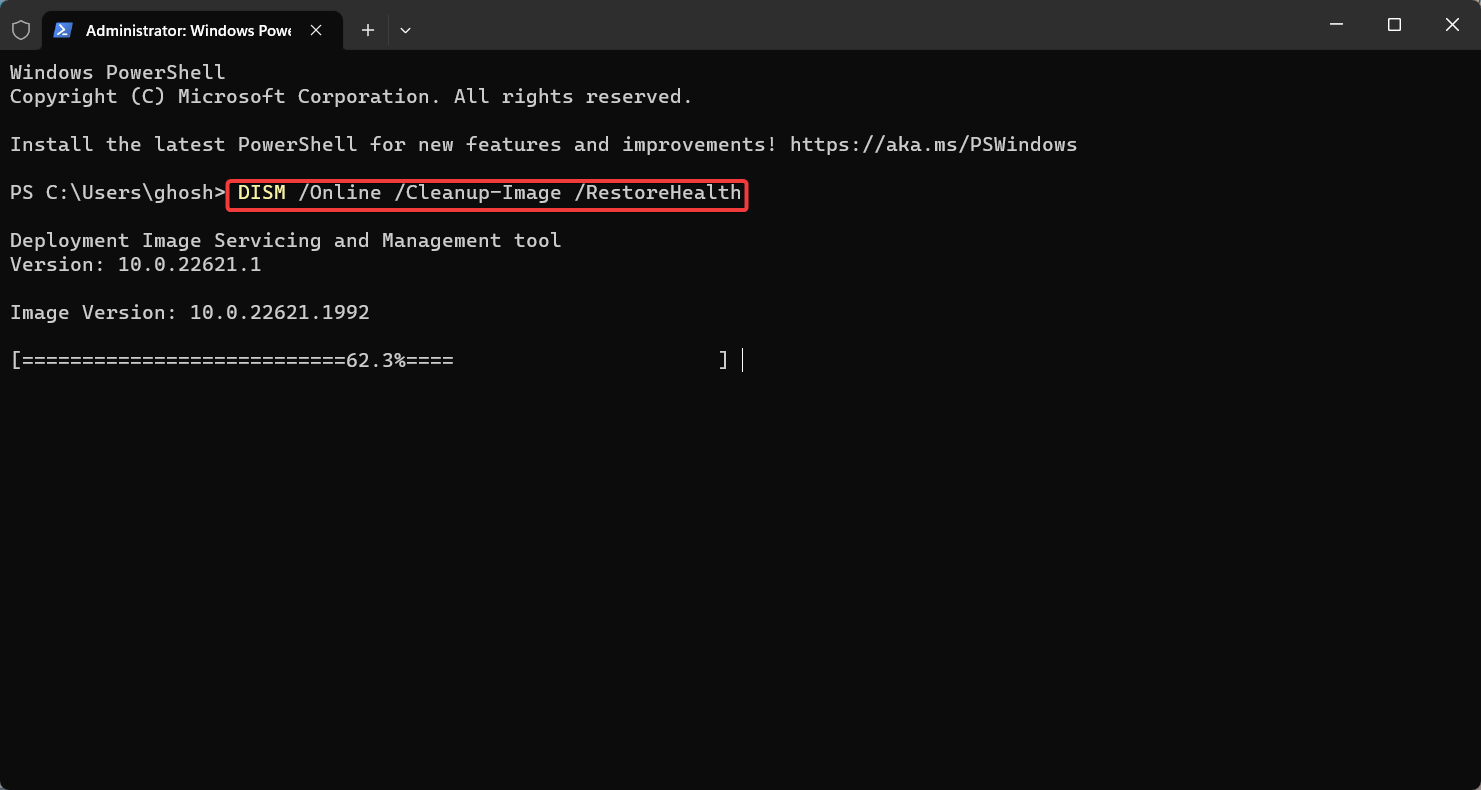
4. Wait for the DISM tool to complete the scan and repair process. This may take some time.
5. Once the process is finished, restart your computer.
Perform a System File Check
The System File Checker (SFC) is another essential tool for identifying and repairing corrupted system files. Running the SFC scan can help fix any issues that are affecting the proper functioning of Windows Update. Here is how you can ensure a healthy system file structure.
1. Press the Windows key + X and select Terminal (Admin) from the menu.
2. In the elevated command prompt, type the following command and press Enter-
- sfc /scannow
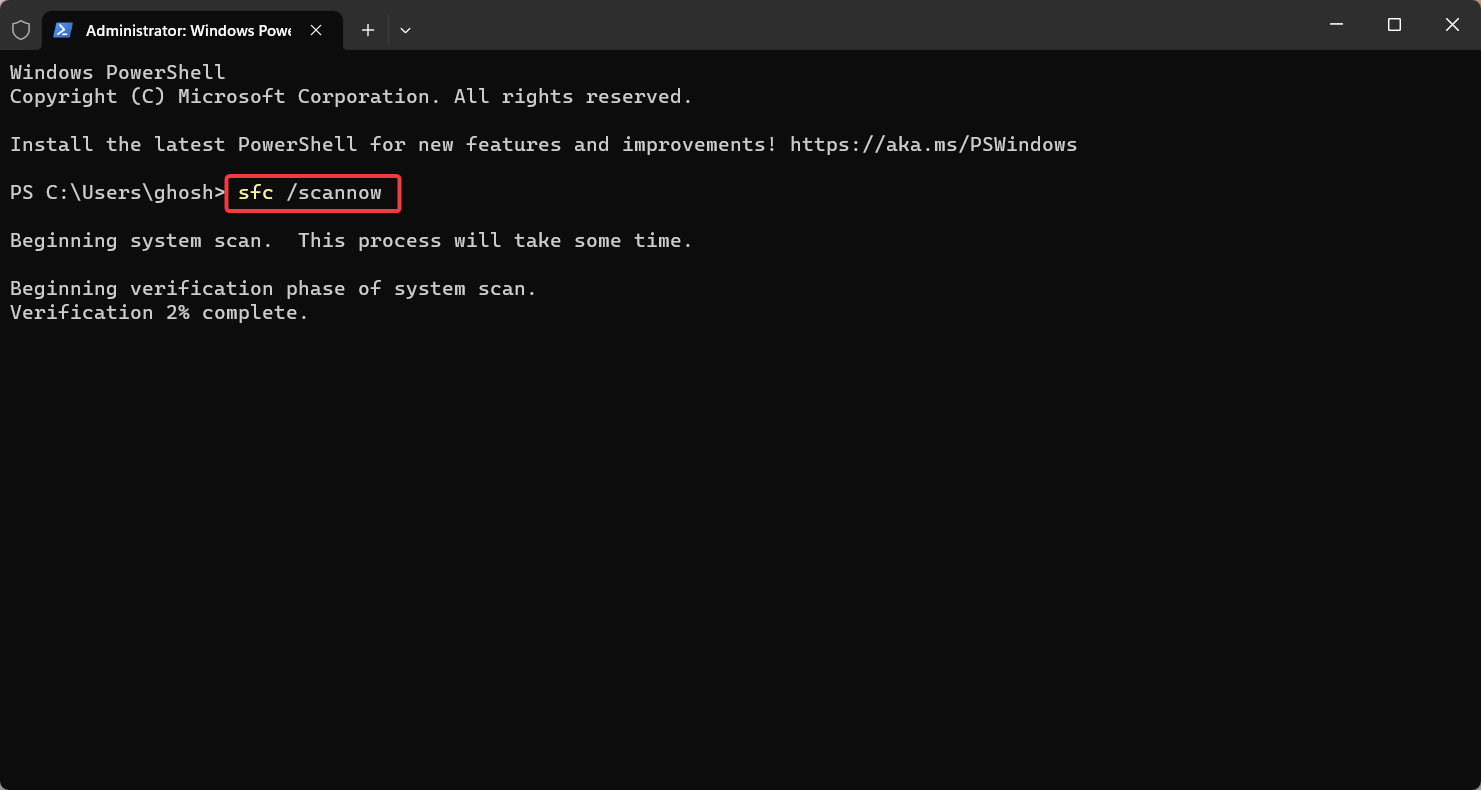
3. Wait for the System File Checker to complete the scan and repair process. This may take some time.
4. Once the process is finished, restart your computer.
Install .NET Framework 3.5
Some updates or features in Windows may depend on the .NET Framework 3.5. If this framework is not installed, it can lead to the 0x800F0922 error. Enabling the .NET Framework 3.5 ensures that all components required for certain updates are in place, allowing the update process to proceed without errors.
1. Press the Windows key + I to open the Settings app.
2. Click on Apps and then select Optional Features from the right pane.
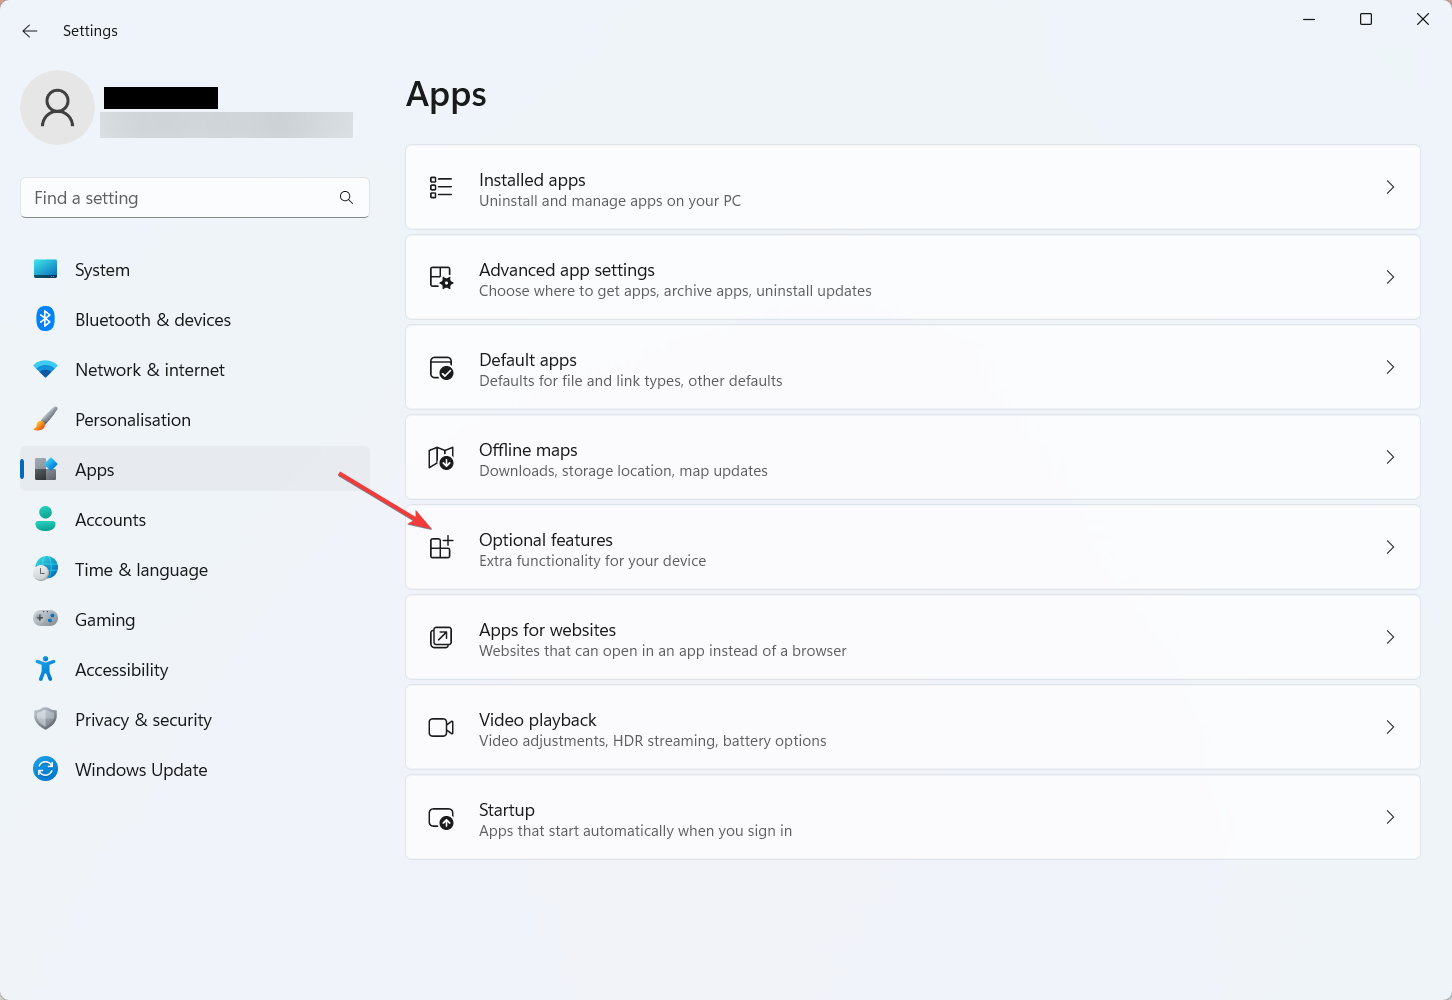
3. Next, scroll down and click More Windows features.

4. A new window will open. Locate .NET Framework 3.5 (includes .NET 2.0 and 3.0) in the list.
5. Click on the “+” icon next to it to expand the option.
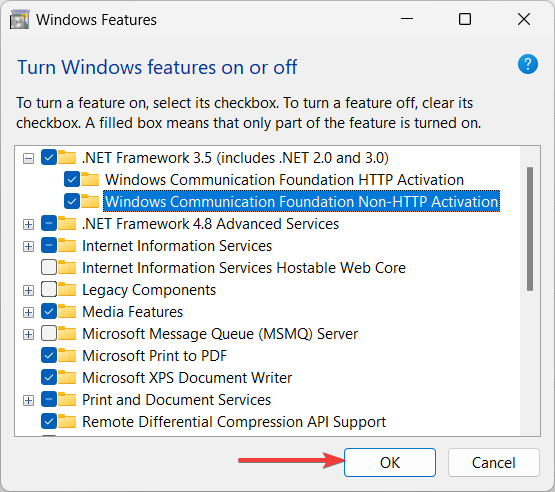
6. Check the options listed and click OK to continue the installation.
Perform a System Restore
In case the 0x800F0922 error is triggered by recent changes, performing a system restore will be helpful. System Restore allows you to revert your PC to a previous state when it was functioning correctly, effectively undoing any problematic changes that led to the error. Follow the below steps to perform a system restore.
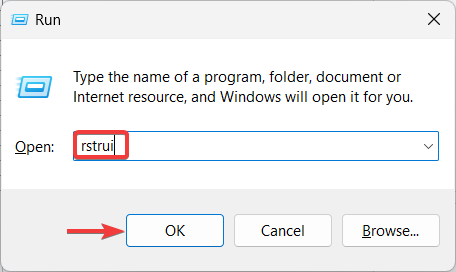
1. Press the Windows key + R to open the Run dialog box.
2. Type “rstrui” and press Enter to open the System Restore window.
3. Click on Next to view the available restore points.

4. Choose a restore point before the 0x800F0922 error occurred and click Next.
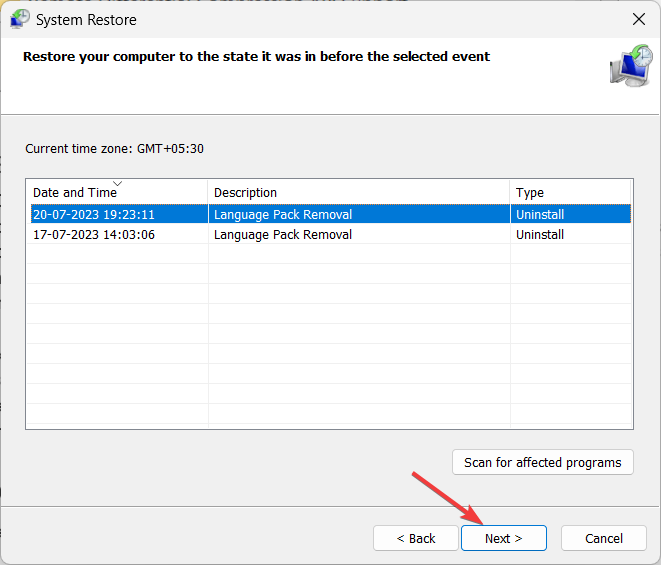
5. Review the restore point details and click Finish to start the restoration process.
6. Confirm your choice, and your PC will restart.
Expert Tips to Prevent the 0x800F0922 Error in Windows
Now, let’s prevent this error from bugging you in the future with these simple tips.
1. Keeping your Windows system up-to-date is crucial for maintaining security and performance. Ensure that automatic update is enabled. To do this, go to Settings > Windows Update > toggle on the Get the latest updates as soon as they’re an available option.
2. Ensure that your PC has enough free disk space to accommodate Windows updates and new features. Running low on disk space can hinder the update process. So regularly clean up unnecessary files or consider upgrading your storage if needed.
3. Antivirus, firewall, and other third-party security software play a vital role in protecting your PC. Ensure that these programs are up-to-date to avoid any conflicts with the Windows update process.
4. If you use language packs on your system, regularly check for pending updates or installations. Make sure all language packs are up-to-date, as missing updates for language components can cause conflicts during the update process.
5. Keeping a clean and healthy system image is required for smooth updates. Regularly run tools like DISM and SFC to scan for and repair corrupted system files or images.
6. Before performing major updates or system changes, it’s always good practice to back up your important data. In case any issues arise during the update process, having a backup ensures you won’t lose valuable files or settings.
7. When Windows is installing updates, avoid shutting down or restarting your PC prematurely. Interrupting the update process can lead to incomplete installations and trigger different errors.
8. Keep an eye on the Windows Event Viewer for any error messages or warnings related to updates. Event logs can provide valuable information about the root cause of update issues.
Conclusion
Ladies and gentlemen, behold! You now possess the know-how to resolve the pesky 0x800F0922 error on your Windows PC in a matter of minutes. Keep in mind the steps we’ve furnished to maintain your system up-to-date and safeguarded. May your troubleshooting endeavors be blissful! Thanks for reading; Cheers!
You may also explore how to fix Windows 0x80004005 error.