Working with PowerShell script can be an exciting prospect. After all, it gives you a clean interface to create your scripts for automating daily tasks.
If you’re a developer, then you can create fully-fledged automation scripts — PowerShell excels at it, especially if you’re using it to build, test and deploy solutions in CI/CD environments.
This article looks closer at creating and running PowerShell scripts. Here, we’ll cover a step-by-step guide on doing it with VS Code, Notepad, and Integrated Scripting Environment.
Let’s get started.
What is PowerShell?

PowerShell is a cross-platform automation and configuration tool. It offers a complete package for administrators, developers, and other users to use cmdlets (a small and lightweight command) to manage different tasks.
Under the package, you get the following:
- A command-line shell
- An associated scripting language
- A framework for processing cmdlets
Unlike Command Prompt, it is available on all major platforms, including Windows, Linux, and macOS.
Technically, PowerShell is built on top of the .NET framework. Due to his approach, it supports Objects and structured data such as JSON, CSV, and XML. Developers can also use REST APIs with PowerShell. Unfortunately, the basic Command Prompt doesn’t support any of it as it is text-based.
All PowerShell scripts are written in the .ps1 extension.
When scripting in PowerShell, you need to know three key concepts:
- Cmdlet: These are the atomic executable script that offers pre-configured functionality. For example, you can use Copy-Item to copy, Get-Help to get help, or Write-Host to output something on the screen.
- Aliases: Aliases offer an easy way to reference cmdlets. It provides faster access. However, using them with prompts for interactive purposes and not when writing PowerShell scripts is advisable.
- Functions: A function is a set of PowerShell statements. Users can invoke a function by calling it.
PowerShell and Scripting
Scripting is an essential method for automating aspects of your work. Whether you’re a programmer, administrator, or freelancer, scripting can automate mundane work processes
After all, there are plenty of benefits of scripting, including:
- Save your precious time through automation.
- Portable knowledge.
- Let you keep things consistent across systems.
- It improves your skill set and employability.
You can do PowerShell, Bash Scripting, Ruby, or Python scripting.
Overall, PowerShell is an excellent tool for scripting. However, Windows prevents scripts from running due to security settings. This can lead to errors such as “running scripts is disabled on this system.” To bypass it, you’ll need to set the correct execution policy. (covered later in the article.)
Why should you use PowerShell for scripting?
One of the biggest reasons PowerShell is an excellent pick for scripting is its ability to work across platforms. It supports Windows, Linux, and MacOS, which the default Windows Command Prompt doesn’t.
You can use PowerShell to create simple jobs using its easy task builders. For example, you can use PowerShell to reboot a machine, clear the cache periodically, or even authenticate sessions.
Additionally, PowerShell scripting is mainly used for system management automation. However, you can use it as a developer to test, build and deploy builds through a CI/CD environment.
How are PowerShell Scripts created?
To create PowerShell Scripts, you’ll need a text editor. For the most part, you’ll do fine with a basic text editor, but with a modern text/code editor, you’ll find the whole process much more manageable.
That’s why we’ll start by showcasing how to create PowerShell Scripts using Visual Studio Code (also known as VS Code). We’ll also cover how to create PowerShell scripts in Notepad and other scripting-friendly integrated environments like PowerShell Integrated Scripting Environment. (PowerShell ISE).
#1. With VS Code
VS Code is a robust and reliable free cross-platform code editor. Microsoft develops it, giving you the added benefit of good PowerShell support.
You get a clean interface out of the box and can use it with virtually any programming language.
As VS Code is a proper code editor, it supports extensions. And to improve our PowerShell scripting experience, we will use the PowerShell extension.
Installing Visual Studio Code
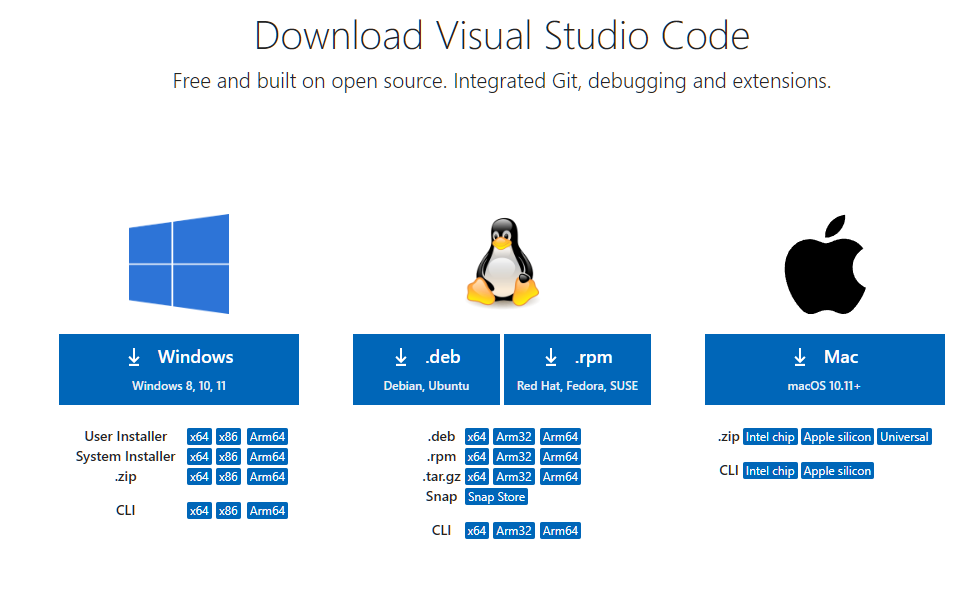
But, before all of these, you need to install VS Code.
To do so, go to the Visual Studio Code download page. Select the correct VS Code version based on your operating system. As we’re using Windows 11, we went with the Windows version.
Once downloaded, double-click the installer, and follow the wizard to install it on your computer.
Installing PowerShell extension
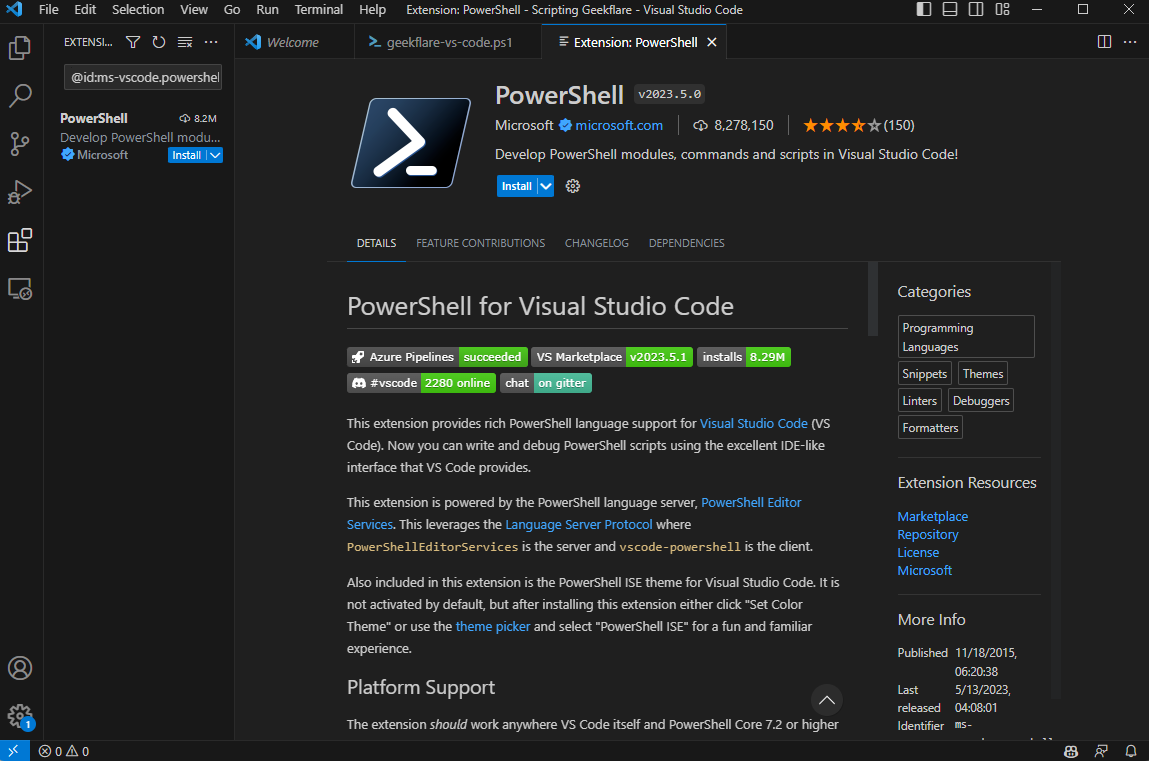
You can install the PowerShell extension in two ways. First, create a new file with the .ps1 extension.
VSCode is smart enough to know that you’re working with PowerShell and automatically recommends you install the “PowerShell extension” from Microsoft.
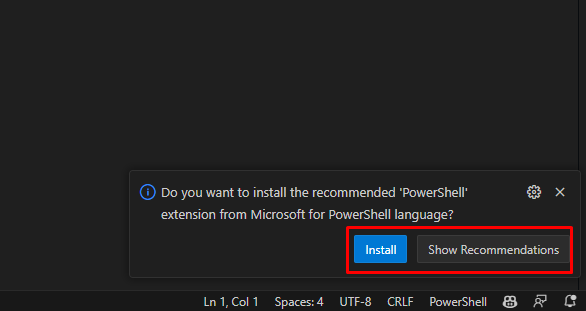
You can click on “Install” to get it installed. Otherwise, click “Show recommendation” to learn more about it.
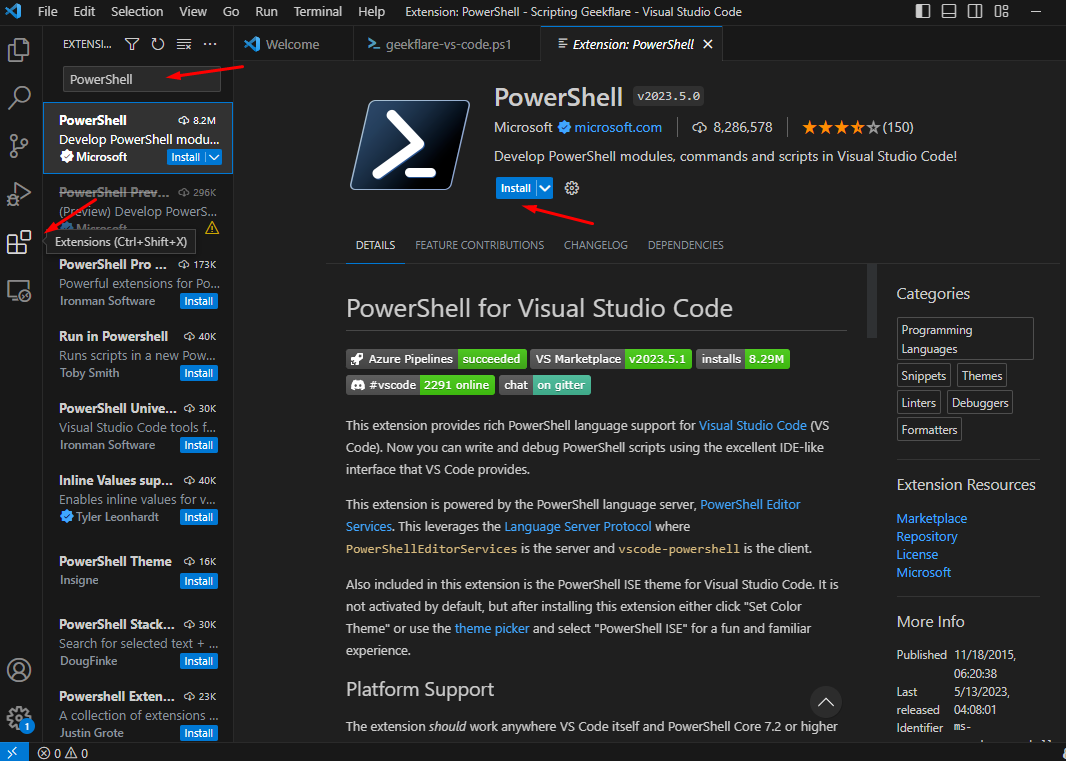
If, for some reason, Visual Studio Code didn’t give you any recommendations, you can manually search for the plugin.
Click on the four-square symbol (with one square flying out) or press Ctrl + Shift + X to open the extension window. Now, search for “PowerShell from Microsoft” and click on the first result. From there, proceed to Install it.
Finally, it’ll ask you if you want to trust the authors of the files in the workspace. Press “Trust Workspace & Install” to complete the installation.
Creating the PowerShell Script with VS Code
You can now create your first Powershell script with VS Code and its extensions properly installed.
If you haven’t created a new file, you can do so by following the steps below.
- Open VS Code
- Go to the top menu, click File, and then New Text File.
- Now, save the file by going to File > Save As.
- Enter the desired file name and make sure to add the .ps1 extension
- Finally, click on Save file.

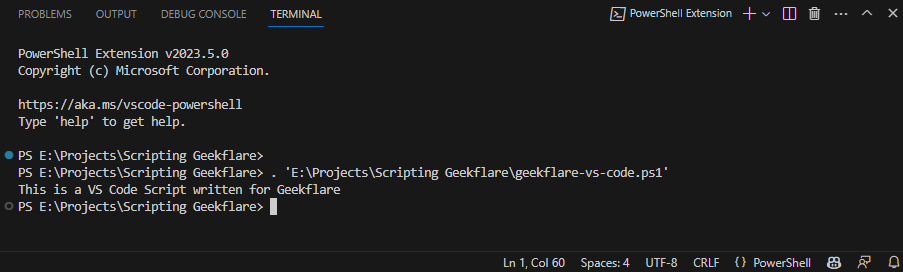
That’s it! You can now create your script accordingly. I added a Write-Host cmdlet with a value of “This is a VS Code Script written for Geekflare.”
We’ll see how to execute the script later, so keep reading!
#2. With Notepad
Creating PowerShell scripts in Notepad is easy.
All you need to do is follow the steps below:
1. Open Start and search for Notepad.
2. Now, right-click on it and select “Open as an administrator.”
3. Now, write your script.
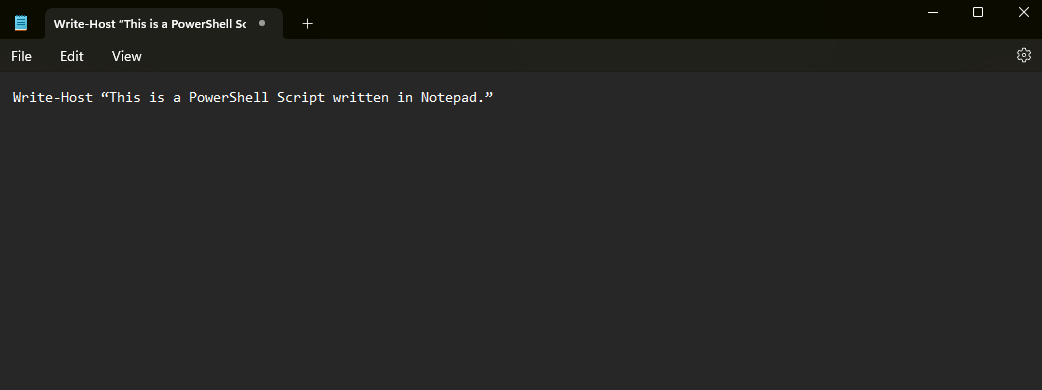
4. For the tutorial, we will write, “This is a PowerShell Script written in Notepad.”
5. Go to File at the top menu and click “Save as.”
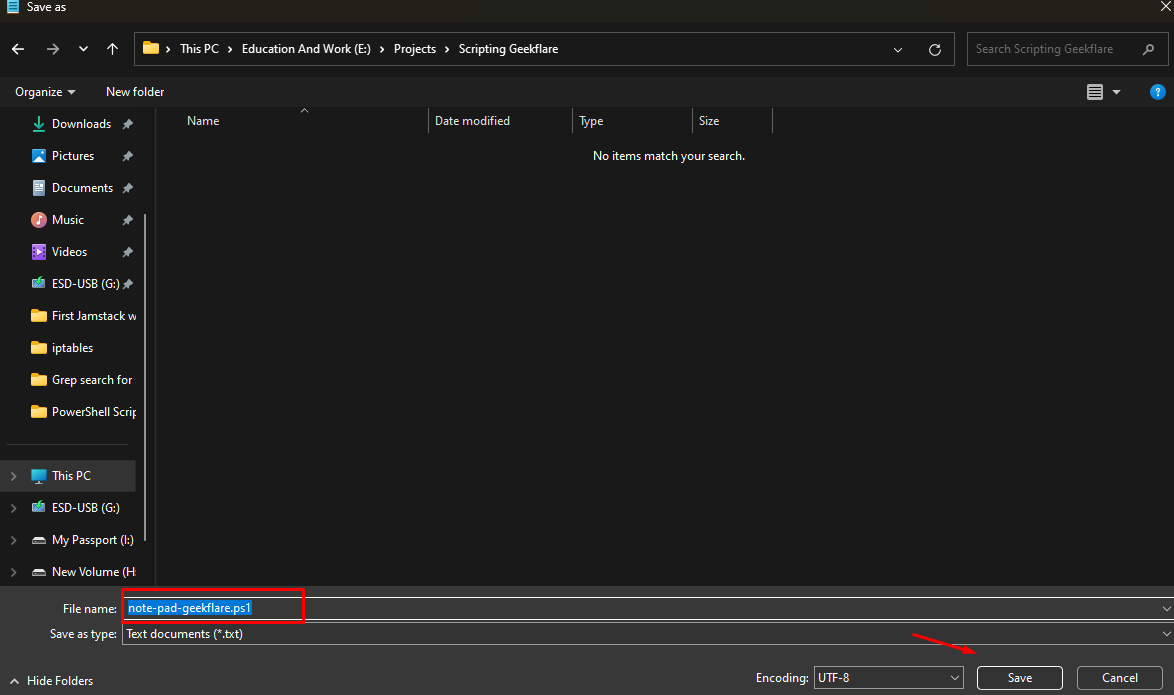
6. Select your PowerShell script’s name and click “Save.”
That’s it. You have successfully created a PowerShell script with Notepad.
#3. With PowerShell ISE
PowerShell on Windows also offers its own Integrated Scripting Environment. You can use it to code your scripts without relying on third-party code or text editors.
To use it successfully, you’ll need to use it through the steps mentioned below:
1. Open Start.
2. Now, search for the keyword “Windows PowerShell ISE”
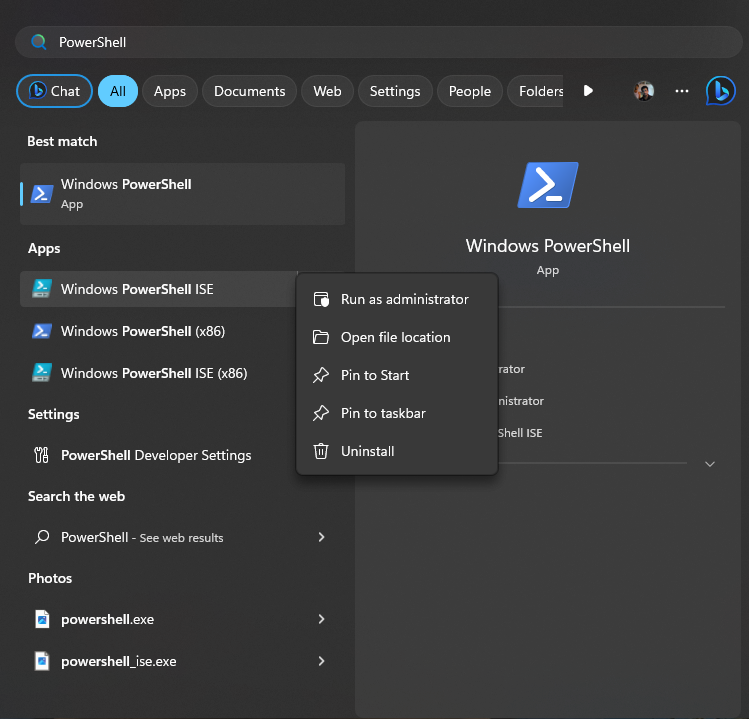
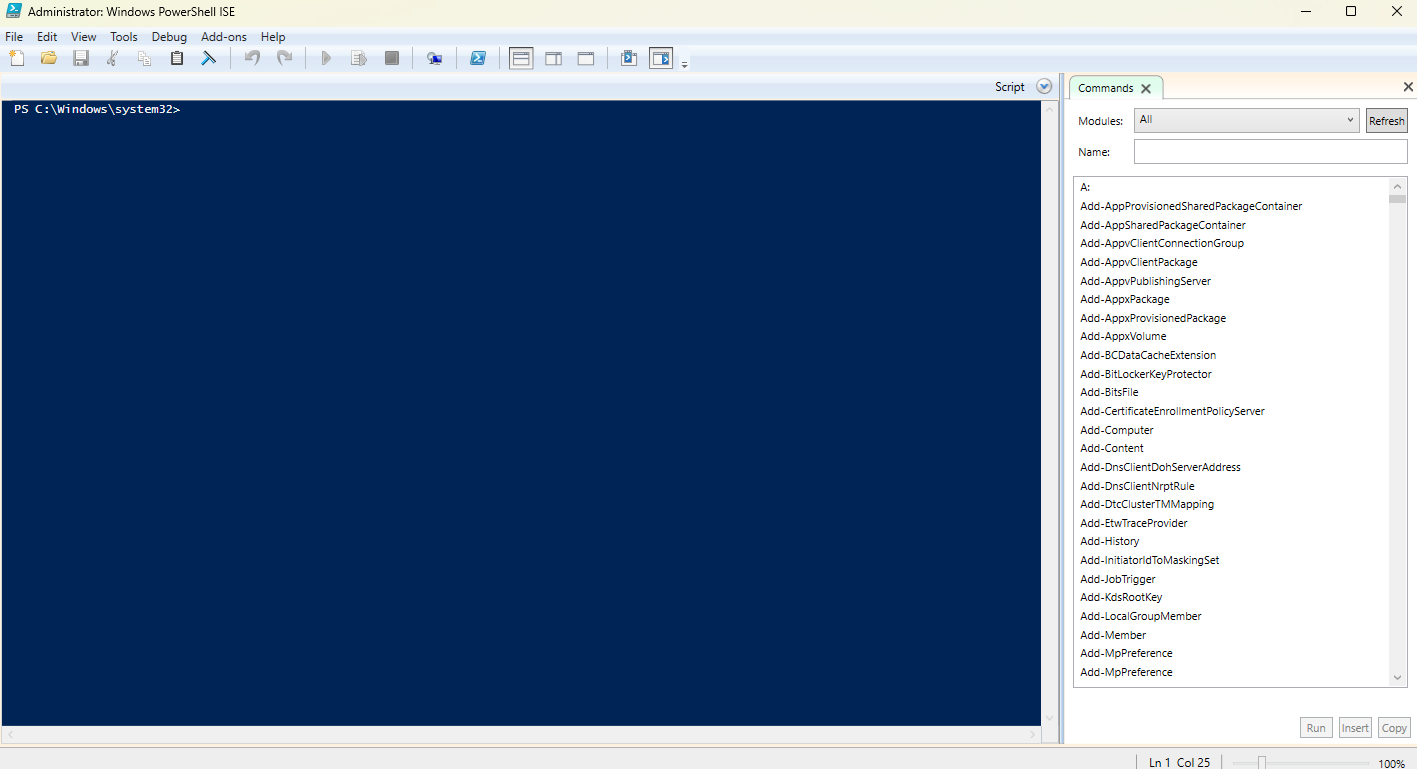
3. Select the first result, right-click, and then left-click “Run as administrator.” It’ll open the PowerShell ISE window.
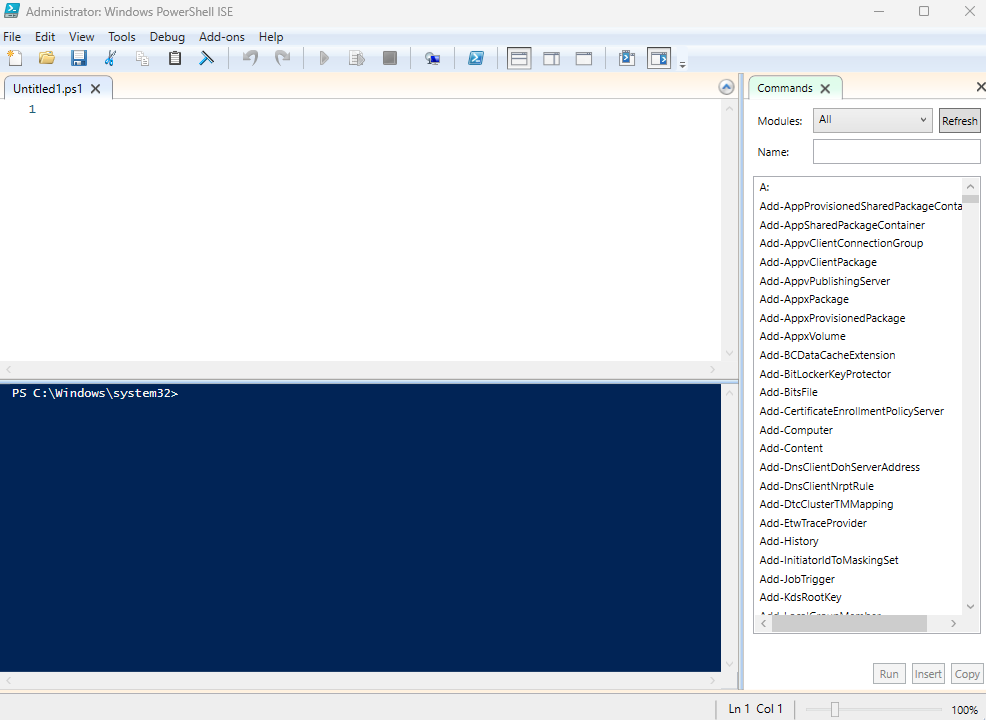
4. Now, click on File and then select “New.” It’ll open a new file Window as below.
7. Type your desired script. For the tutorial, we’ll write, “This is a PowerShell Script written with the help of PowerShell ISE.”
8. Once done, go to File and Save As.
9. Here, select the file name and click on Save.
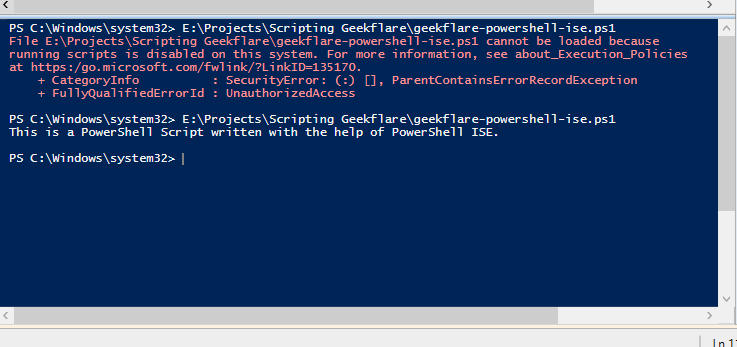
You can also run the script directly from the PowerShell ISE. To do so, click the RUN button on the top section of the environment. If it throws a Security Error, read below how to solve it.
How to Solve PowerShell Script Security Error and Run It
As mentioned earlier, Windows has a strict security policy when running scripts. To bypass it, you’ll need to enable script execution on your Windows machine.
To do so, follow the steps below:
- Open the Start Windows Menu.
- Search for PowerShell.
- Now, right-click on the PowerShell app and right-click on it.
- Select the “Run as administrator” option.
- Once the PowerShell opens, type the command “Set-ExecutionPolicy RemoteSigned”
- Press Enter, and It’ll then ask you for confirmation. Press A to enable it.
That’s it; you can now finally run all your scripts!
For PowerShell ISE, it looks as below.
For Visual Studio Code, it’ll look as below.
And, for Notepad, you’ll need to run it directly from the PowerShell command prompt.

Best Practices for Writing and Running PowerShell Scripts
You should follow best practices when working with PowerShell Scripts. These practices include:
- Use the cmdlet’s full name rather than using their alias. The alias is handy only when interacting with the console. Alias improves faster interactiveness but can mess up the script.
- It is best not to use the Write-Host cmdlet as it offers limited functionality. For example, it only sends output to the screen. However, you can use it to display text in a specific color. Instead, you can use the Write-Output cmdlet.
- Always use cmdlet’s singular noun rather than its plural noun.
- Use the approved verb for the cmdlet.
- Specify application extension whenever possible. It removes confusion and improves readability.
- Use a dedicated PowerShell code editor such as VS Code or PowerShell ISE. These offer excellent features for writing and executing PowerShell scripts. You can use Notepad or Notepad++, but then you’re limiting yourself.
- Try to comment, but don’t overdo it, as it can mess up the code readability and maintainability.
- Ensure that you have set the right security parameter for running PowerShell scripts.
Conclusion
That’s it! You can now create and run PowerShell scripts using Notepad, VS Code, and PowerShell ISE. In addition, you can use any of the mentioned tools to write and execute PowerShell scripts.
However, as mentioned in the best practice, it is best to avoid Notepad or Notepad++ to write PowerShell scripts as you miss out on many features offered by dedicated VS Code and PowerShell ISE code editors.
Next, you may also read how to check the PowerShell version and update it on the Windows server.